
节点准备
| hostname | ip | 角色 |
|---|---|---|
| ubuntu-1804-1 | 172.21.73.53 | 从节点 |
| ubuntu-1804-2 | 172.21.73.54 | 主节点 |
| ubuntu-1804-3 | 172.21.73.55 | 从节点 |
关闭防火墙
sudo ufw disable配置时钟同步NTP
所有节点安装ntp
sudo apt install ntp以ubuntu-1804-2为server,在ubuntu-1804-2进行如下修改
修改配置文件vim /etc/ntp.conf,将下述配置注释
#pool 0.ubuntu.pool.ntp.org iburst
#pool 1.ubuntu.pool.ntp.org iburst
#pool 2.ubuntu.pool.ntp.org iburst
#pool 3.ubuntu.pool.ntp.org iburst

#pool ntp.ubuntu.com
进行如下配置,将“restrict default nomodify notrap noquery”这行修改成
restrict default nomodify notrap
restrict 172.21.73.0 mask 255.255.255.0
ubuntu-1804-1和ubuntu-1804-3同样注释下述配置,
#pool 0.ubuntu.pool.ntp.org iburst
#pool 1.ubuntu.pool.ntp.org iburst
#pool 2.ubuntu.pool.ntp.org iburst
#pool 3.ubuntu.pool.ntp.org iburst

#pool ntp.ubuntu.com
新增
server ubuntu-1804-2 prefer启动ntp服务
systemctl enable ntp
systemctl start ntp
开启使用root登陆
使用普通用户进入root用户
sudo su设置root密码
passwd root修改配置
vim /etc/ssh/sshd_config新增如下配置:
PermitRootLogin yes重启ssh
systemctl restart sshd配置免密登录
ubuntu-1804-2可以免密登陆ubuntu-1804-1、ubuntu-1804-2、ubuntu-1804-3
三台机器均执行如下操作:
root@ubuntu-1804-2:~# ssh-keygen
Generating public/private rsa key pair.
Enter file in which to save the key (/root/.ssh/id_rsa):
Enter passphrase (empty for no passphrase):
Enter same passphrase again:
Your identification has been saved in /root/.ssh/id_rsa.
Your public key has been saved in /root/.ssh/id_rsa.pub.
The key fingerprint is:
SHA256:2MRn3ranRz0AFjMqx1t3Qk5QibTnPrw+zR9MY9ftu6s root@ubuntu-1804-3
The key's randomart image is:
+---[RSA 2048]----+
|          .*=+.  |
|       .. .+B.   |
|       .o++o.= . |
|       +o+o.+.o o|
|      . S.. o..=+|
|           .o.=o+|
|            .=+oo|
|             ++oo|
|            oEo+=|
+----[SHA256]-----+
在ubuntu-1804-2中进入root用户,执行如下命令,提示输入root密码,请输入root密码:
ssh-copy-id ubuntu-1804-1
ssh-copy-id ubuntu-1804-2
ssh-copy-id ubuntu-1804-3
至此,ubuntu-1804-2可以用root用户成功免密登陆ubuntu-1804-1、ubuntu-1804-2、ubuntu-1804-3
mysql安装
sudo apt install mysql-server mysql-client
sudo systemctl enable mysql
sudo systemctl start mysql
默认账号密码在文件/etc/mysql/debian.cnf 中
ubuntu@ubuntu-1804-2:/etc/apt/sources.list.d$ sudo cat /etc/mysql/debian.cnf
# Automatically generated for Debian scripts. DO NOT TOUCH!
[client]
host     = localhost
user     = debian-sys-maint
password = 0cBYq68fUGyFCpPw
socket   = /var/run/mysqld/mysqld.sock
[mysql_upgrade]
host     = localhost
user     = debian-sys-maint
password = 0cBYq68fUGyFCpPw
socket   = /var/run/mysqld/mysqld.sock
修改root用户密码
use mysql;

update mysql.user set authentication_string=password('Pass-123-root') where user='root' and Host='localhost';

update user set  plugin="mysql_native_password";

flush privileges;
新建ambari用户与用户授权
create user 'ambari'@'*' identified by 'Pass-123-root';

create database ambari;

grant all privileges on ambari.* to 'ambari'@'%' identified by 'Pass-123-root' with grant option;
修改配置文件,允许仓库远程访问:
sudo vim /etc/mysql/mysql.conf.d/mysqld.cnf找到下面一行,进行注释:
bind-address = 127.0.0.1改为
# bind-address = 127.0.0.1重启mysql
sudo systemctl restart mysql下载安装包
参考地址:HDP 3.1 centos7以及ubuntu18.04高速下载链接 – 从大数据到人工智能 (lrting.top)
配置deb源
在ubuntu-1上配置deb仓库
sudo apt-get install apache2
sudo chmod -R 777 /var/www/html
sudo systemctl enable apache2
sudo systemctl start apache2
将ambari拷贝到/var/www/html目录下
ubuntu@ubuntu-1804-1:/var/www/html$ ll /var/www/html/ambari
total 12
drwxrwxr-x 3 ubuntu ubuntu 4096 Dec 2 03:27 ./
drwxrwxrwx 3 root root 4096 Dec 2 03:27 ../
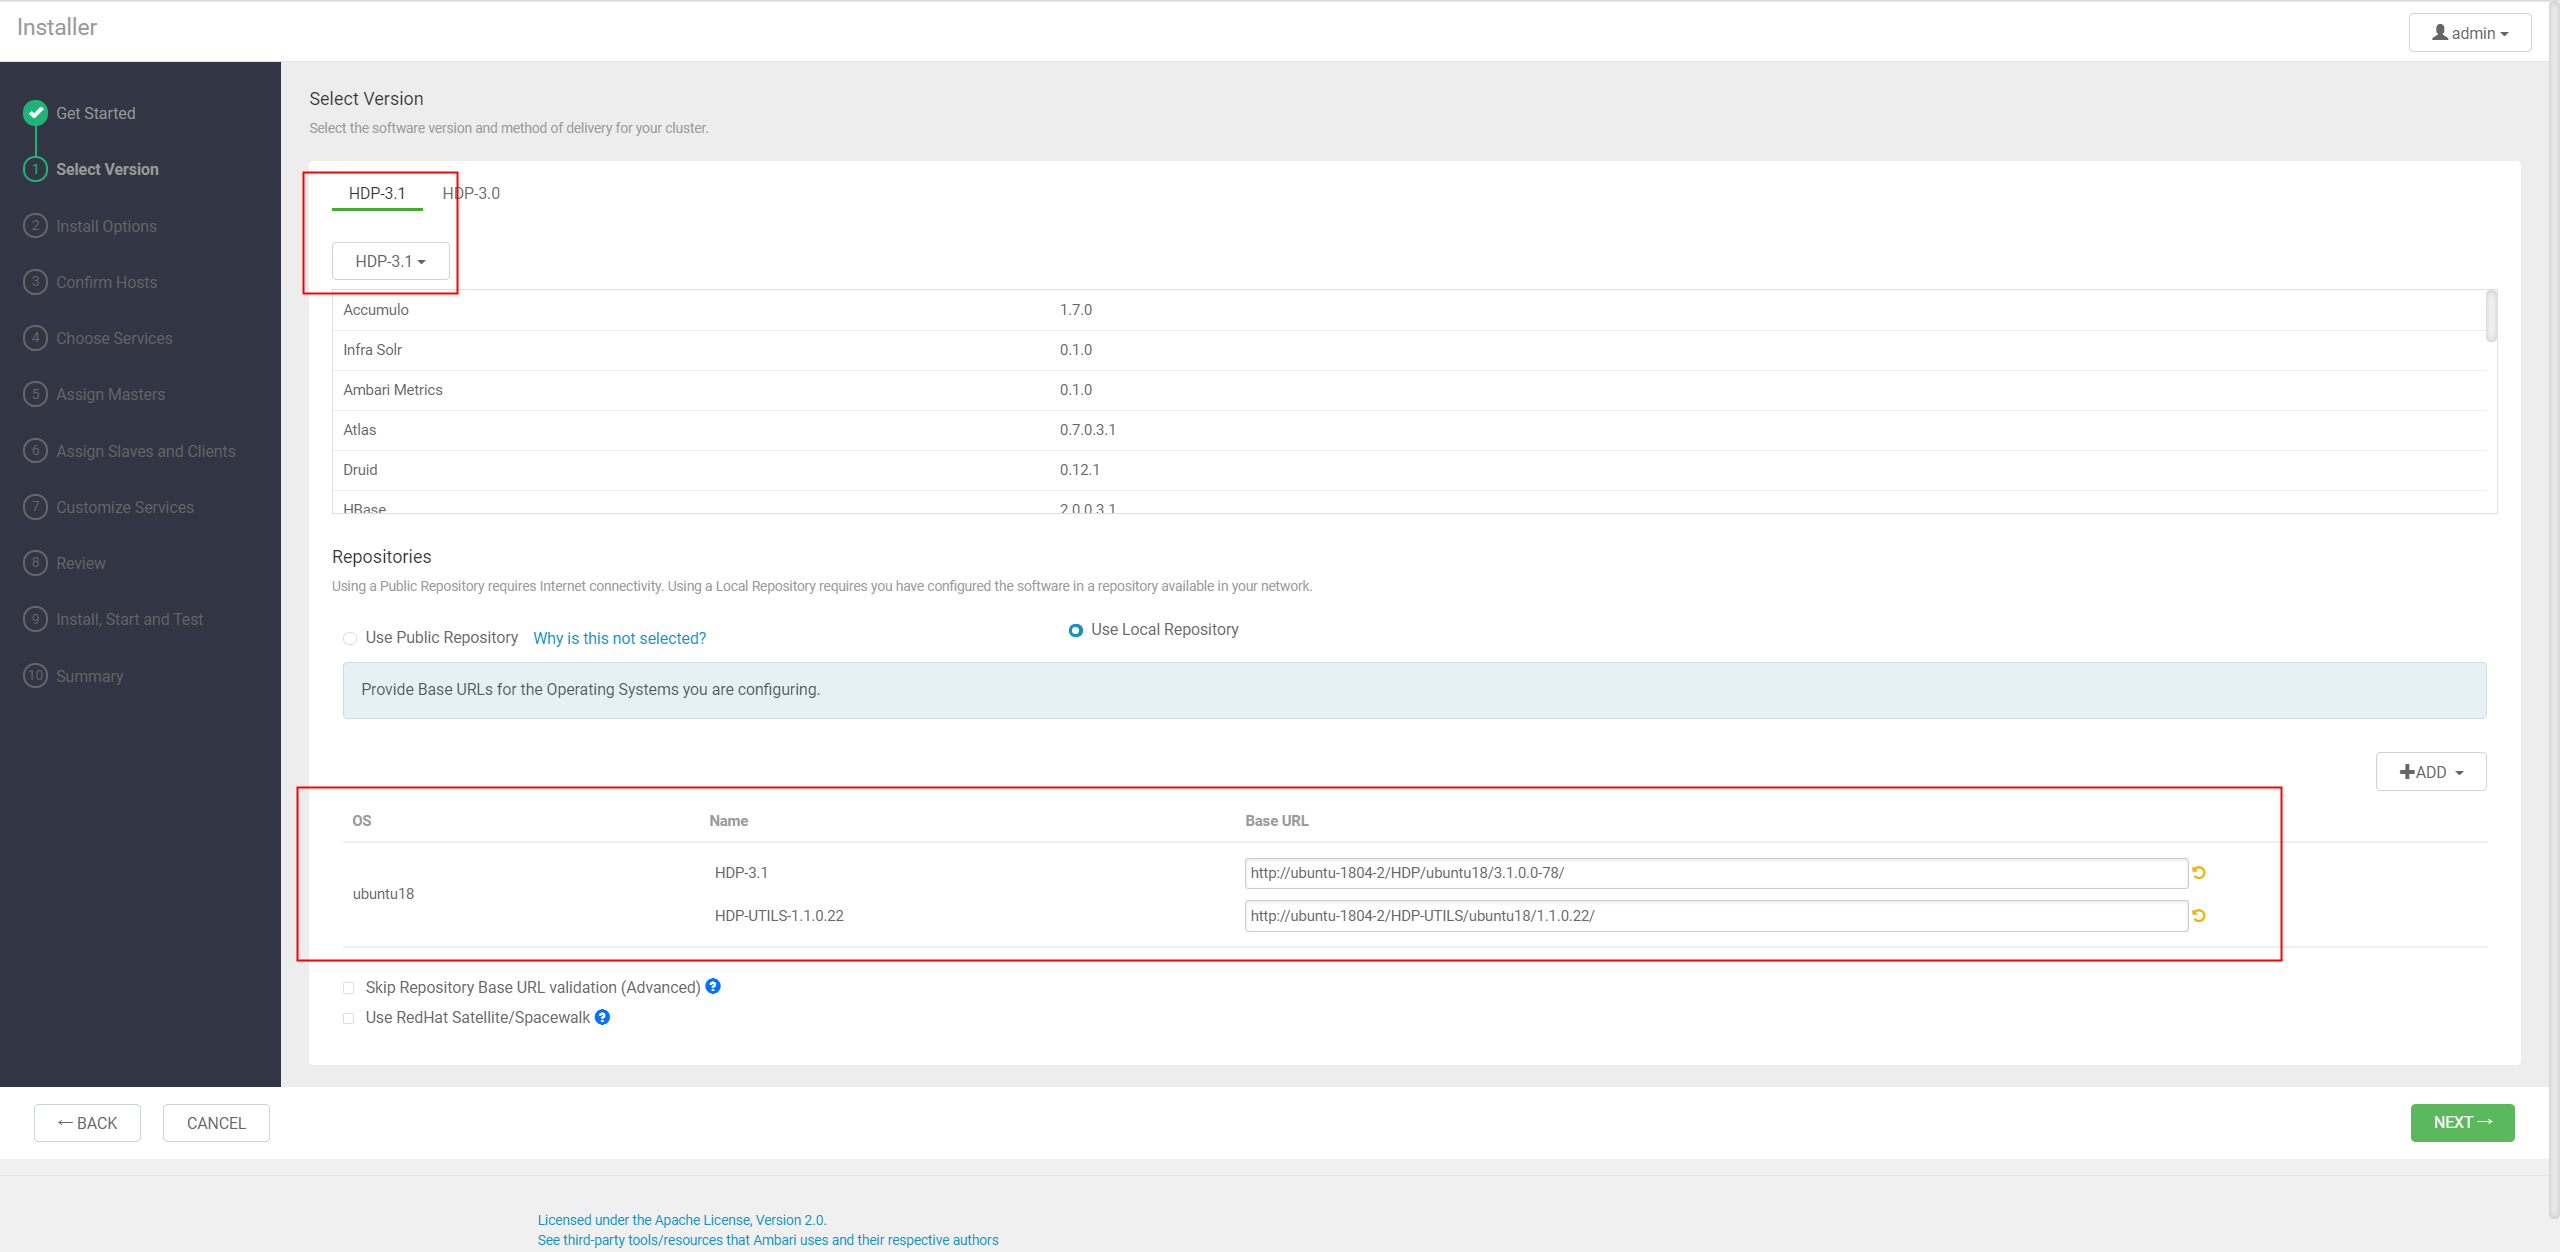
drwxrwxr-x 3 ubuntu ubuntu 4096 Dec 2 03:27 ubuntu18/在/etc/apt/sources.list.d目录下,新增文件ambari.list,内容为:
deb http://ubuntu-1804-2/ambari/ubuntu18/2.7.3.0-139/ Ambari main新增文件hdp.list,内容为:
deb http://ubuntu-1804-2/HDP-GPL/ubuntu18/3.1.0.0-78/ HDP-GPL main
deb http://ubuntu-1804-2/HDP-UTILS/ubuntu18/1.1.0.22/ HDP-UTILS main
deb http://ubuntu-1804-2/HDP/ubuntu18/3.1.0.0-78/ HDP main
导入gpg(每台机器都需要执行)
ubuntu@ubuntu-1804-2:~$ sudo apt-key adv --keyserver hkp://keyserver.ubuntu.com:80 --recv B9733A7A07513CAD
Executing: /tmp/apt-key-gpghome.BZYA0AHSxL/gpg.1.sh --keyserver hkp://keyserver.ubuntu.com:80 --recv B9733A7A07513CAD
gpg: key B9733A7A07513CAD: public key "Jenkins (HDP Builds) <jenkin@hortonworks.com>" imported
gpg: Total number processed: 1
gpg:               imported: 1
更新源
sudo apt update安装配置ambari-server
sudo apt install ambari-server配置ambari-server
root@ubuntu-1804-2:~# ambari-server setup
Using python  /usr/bin/python
Setup ambari-server
Checking SELinux...
WARNING: Could not run /usr/sbin/sestatus: OK
Customize user account for ambari-server daemon [y/n] (n)?
Adjusting ambari-server permissions and ownership...
Checking firewall status...
Checking JDK...
[1] Oracle JDK 1.8 + Java Cryptography Extension (JCE) Policy Files 8
[2] Custom JDK
==============================================================================
Enter choice (1): 2
WARNING: JDK must be installed on all hosts and JAVA_HOME must be valid on all hosts.
WARNING: JCE Policy files are required for configuring Kerberos security. If you plan to use Kerberos,please make sure JCE Unlimited Strength Jurisdiction Policy Files are valid on all hosts.
Path to JAVA_HOME: /usr/lib/java/jdk8
Validating JDK on Ambari Server...done.
Check JDK version for Ambari Server...
JDK version found: 8
Minimum JDK version is 8 for Ambari. Skipping to setup different JDK for Ambari Server.
Checking GPL software agreement...
GPL License for LZO: https://www.gnu.org/licenses/old-licenses/gpl-2.0.en.html
Enable Ambari Server to download and install GPL Licensed LZO packages [y/n] (n)?
Completing setup...
Configuring database...
Enter advanced database configuration [y/n] (n)? y
Configuring database...
==============================================================================
Choose one of the following options:
[1] - PostgreSQL (Embedded)
[2] - Oracle
[3] - MySQL / MariaDB
[4] - PostgreSQL
[5] - Microsoft SQL Server (Tech Preview)
[6] - SQL Anywhere
[7] - BDB
==============================================================================
Enter choice (1): 3
Hostname (localhost): 172.21.73.54
Port (3306):
Database name (ambari):
Username (ambari):
Enter Database Password (bigdata):
Re-enter password:
Configuring ambari database...
Enter full path to custom jdbc driver: /var/lib/ambari-server/resources/mysql-connector-java-5.1.43.jar
Copying /var/lib/ambari-server/resources/mysql-connector-java-5.1.43.jar to /usr/share/javaConfiguring remote database connection properties...
WARNING: Before starting Ambari Server, you must run the following DDL directly from the database shell to create the schema: /var/lib/ambari-server/resources/Ambari-DDL-MySQL-CREATE.sql
Proceed with configuring remote database connection properties [y/n] (y)? y
Extracting system views...
....ambari-admin-2.7.3.0.139.jar

Ambari repo file doesn't contain latest json url, skipping repoinfos modification
Adjusting ambari-server permissions and ownership...
Ambari Server 'setup' completed successfully.
root@ubuntu-1804-2:~# ambari-server start
Using python  /usr/bin/python
Starting ambari-server
Ambari Server running with administrator privileges.
Organizing resource files at /var/lib/ambari-server/resources...
Ambari database consistency check started...
Server PID at: /var/run/ambari-server/ambari-server.pid
Server out at: /var/log/ambari-server/ambari-server.out
Server log at: /var/log/ambari-server/ambari-server.log
Waiting for server start...............................................................................................
Server started listening on 8080

DB configs consistency check: no errors and warnings were found.
Ambari Server 'start' completed successfully.
启动ambari-server
ambari-server start
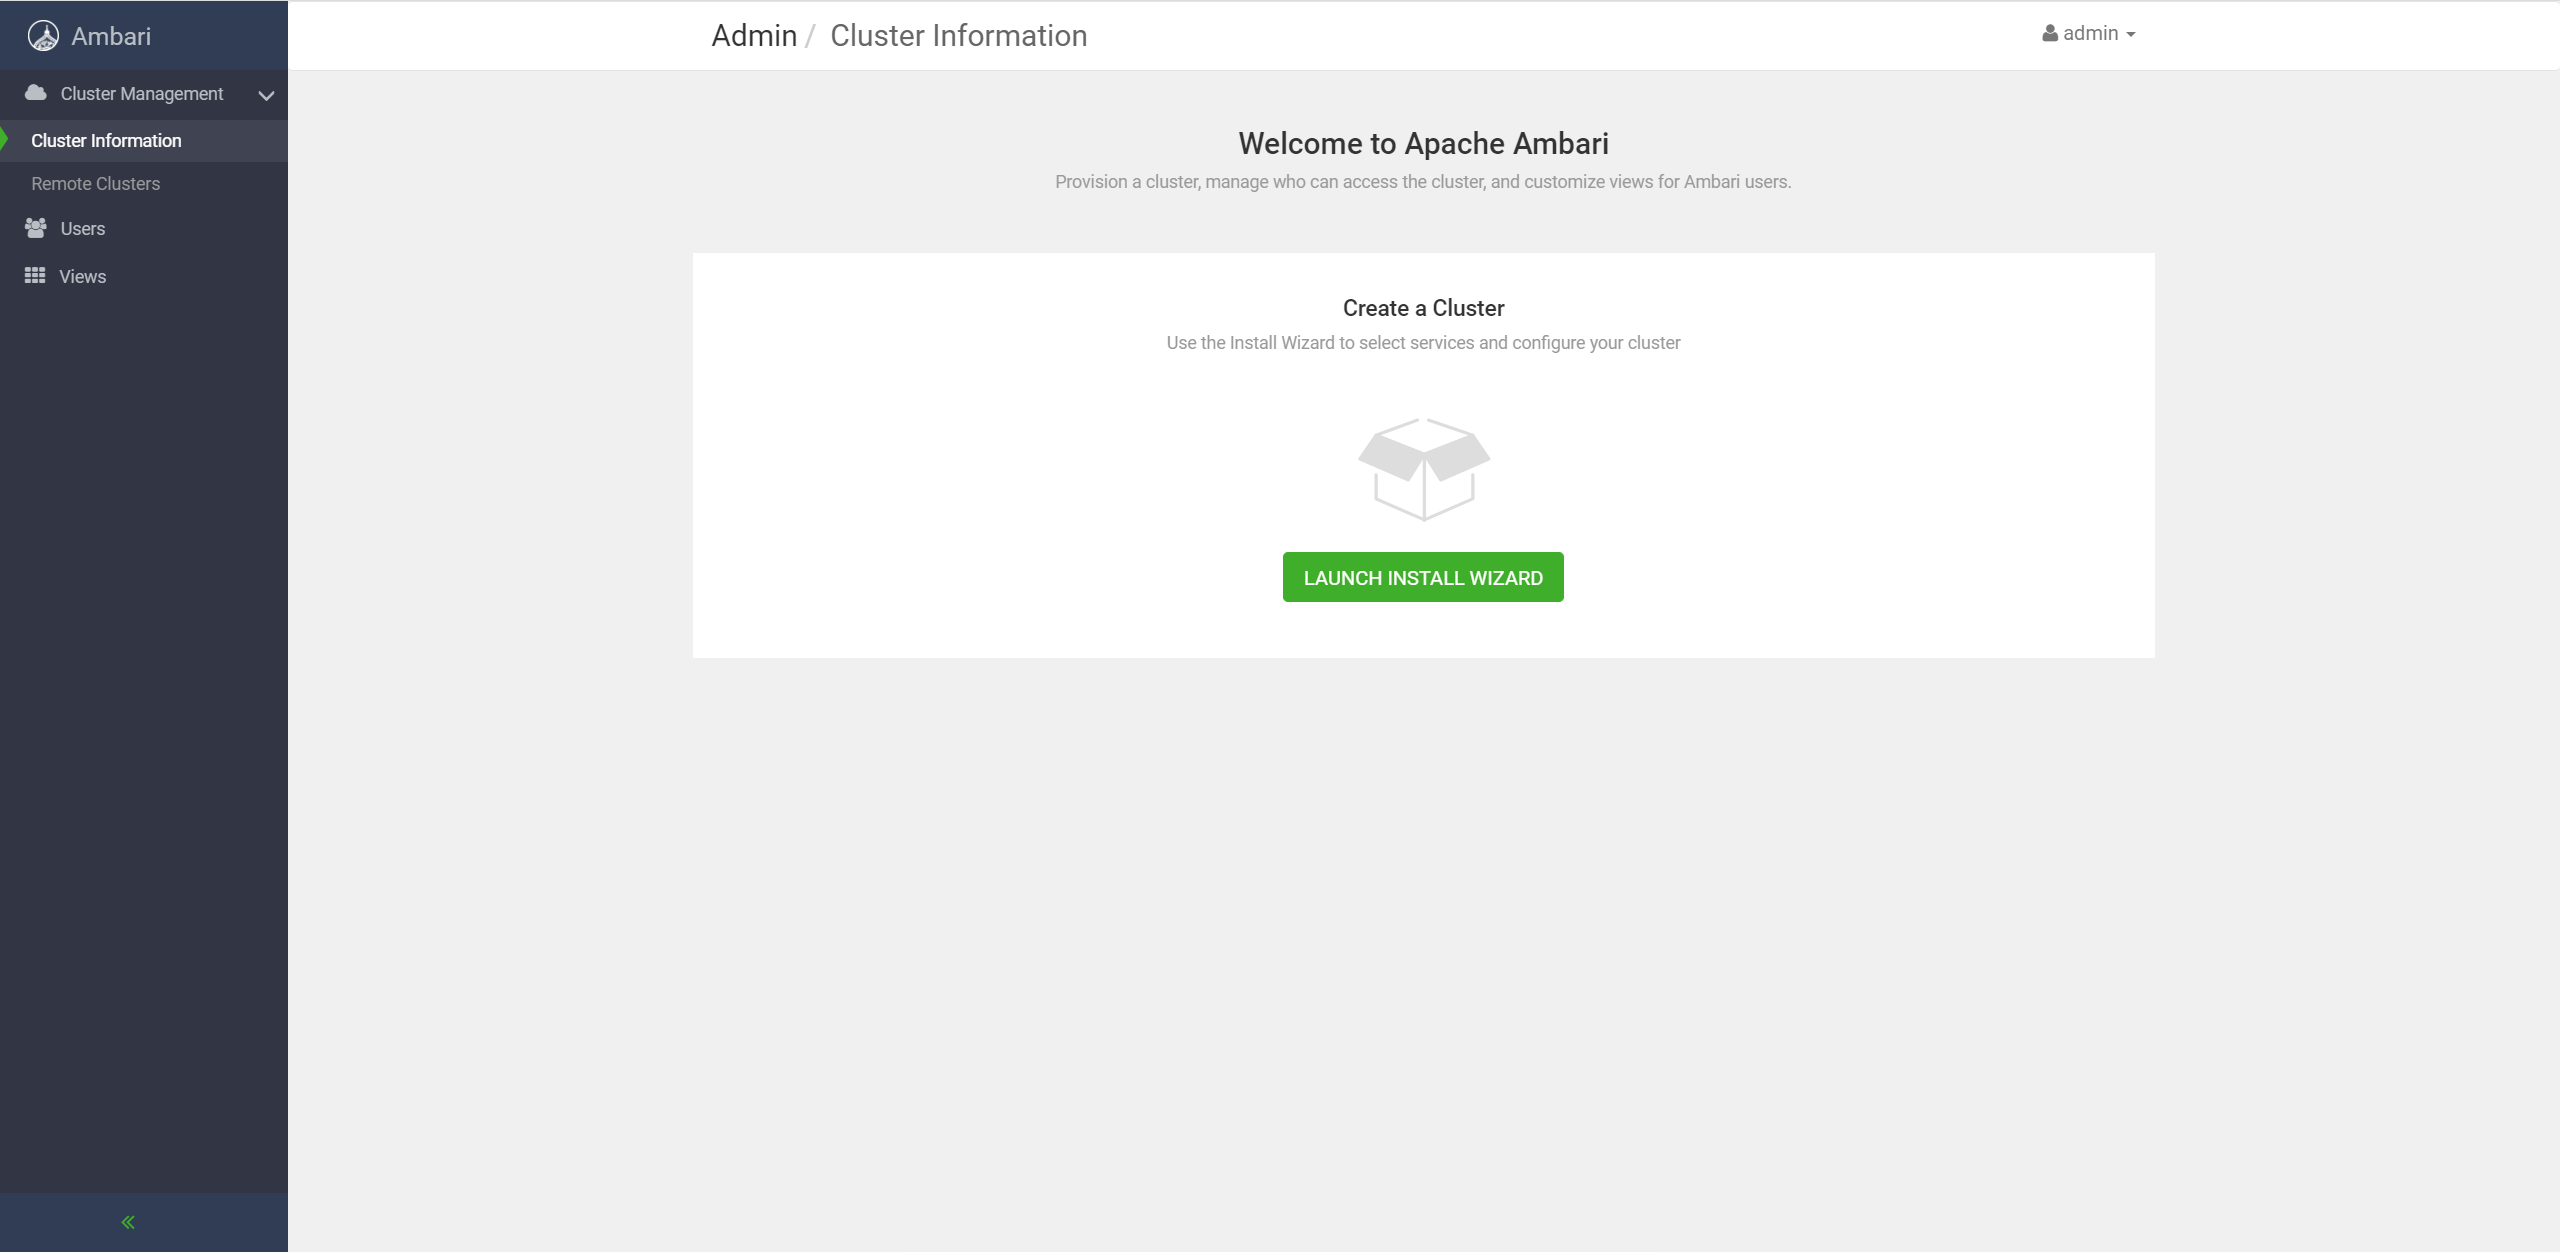
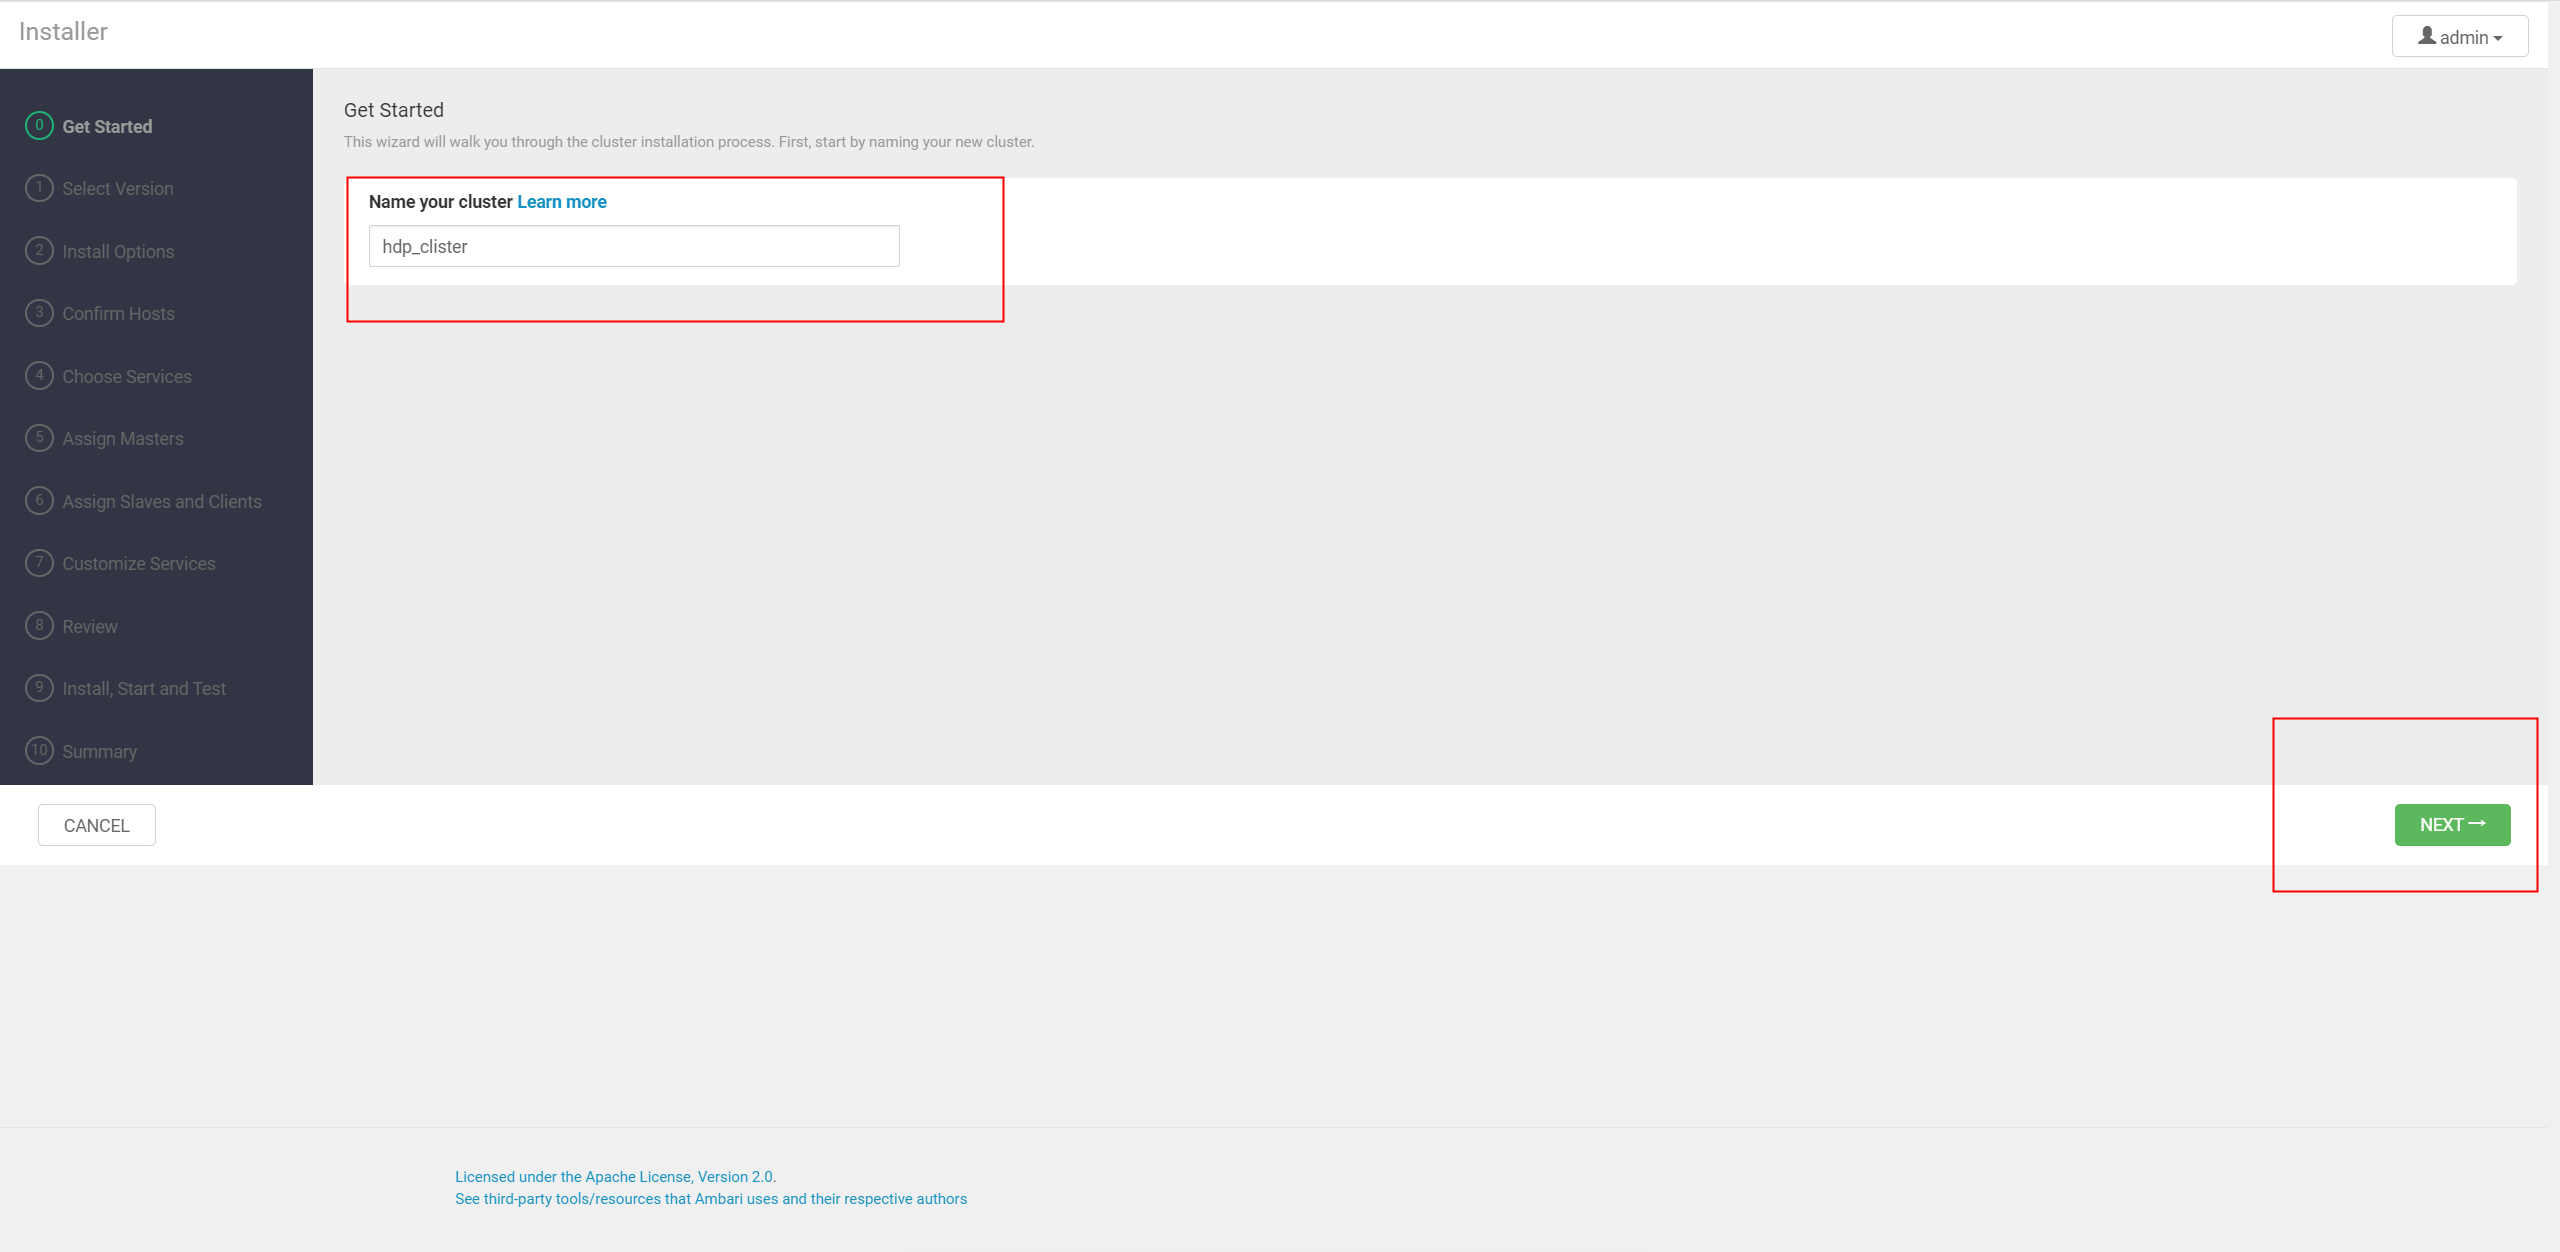
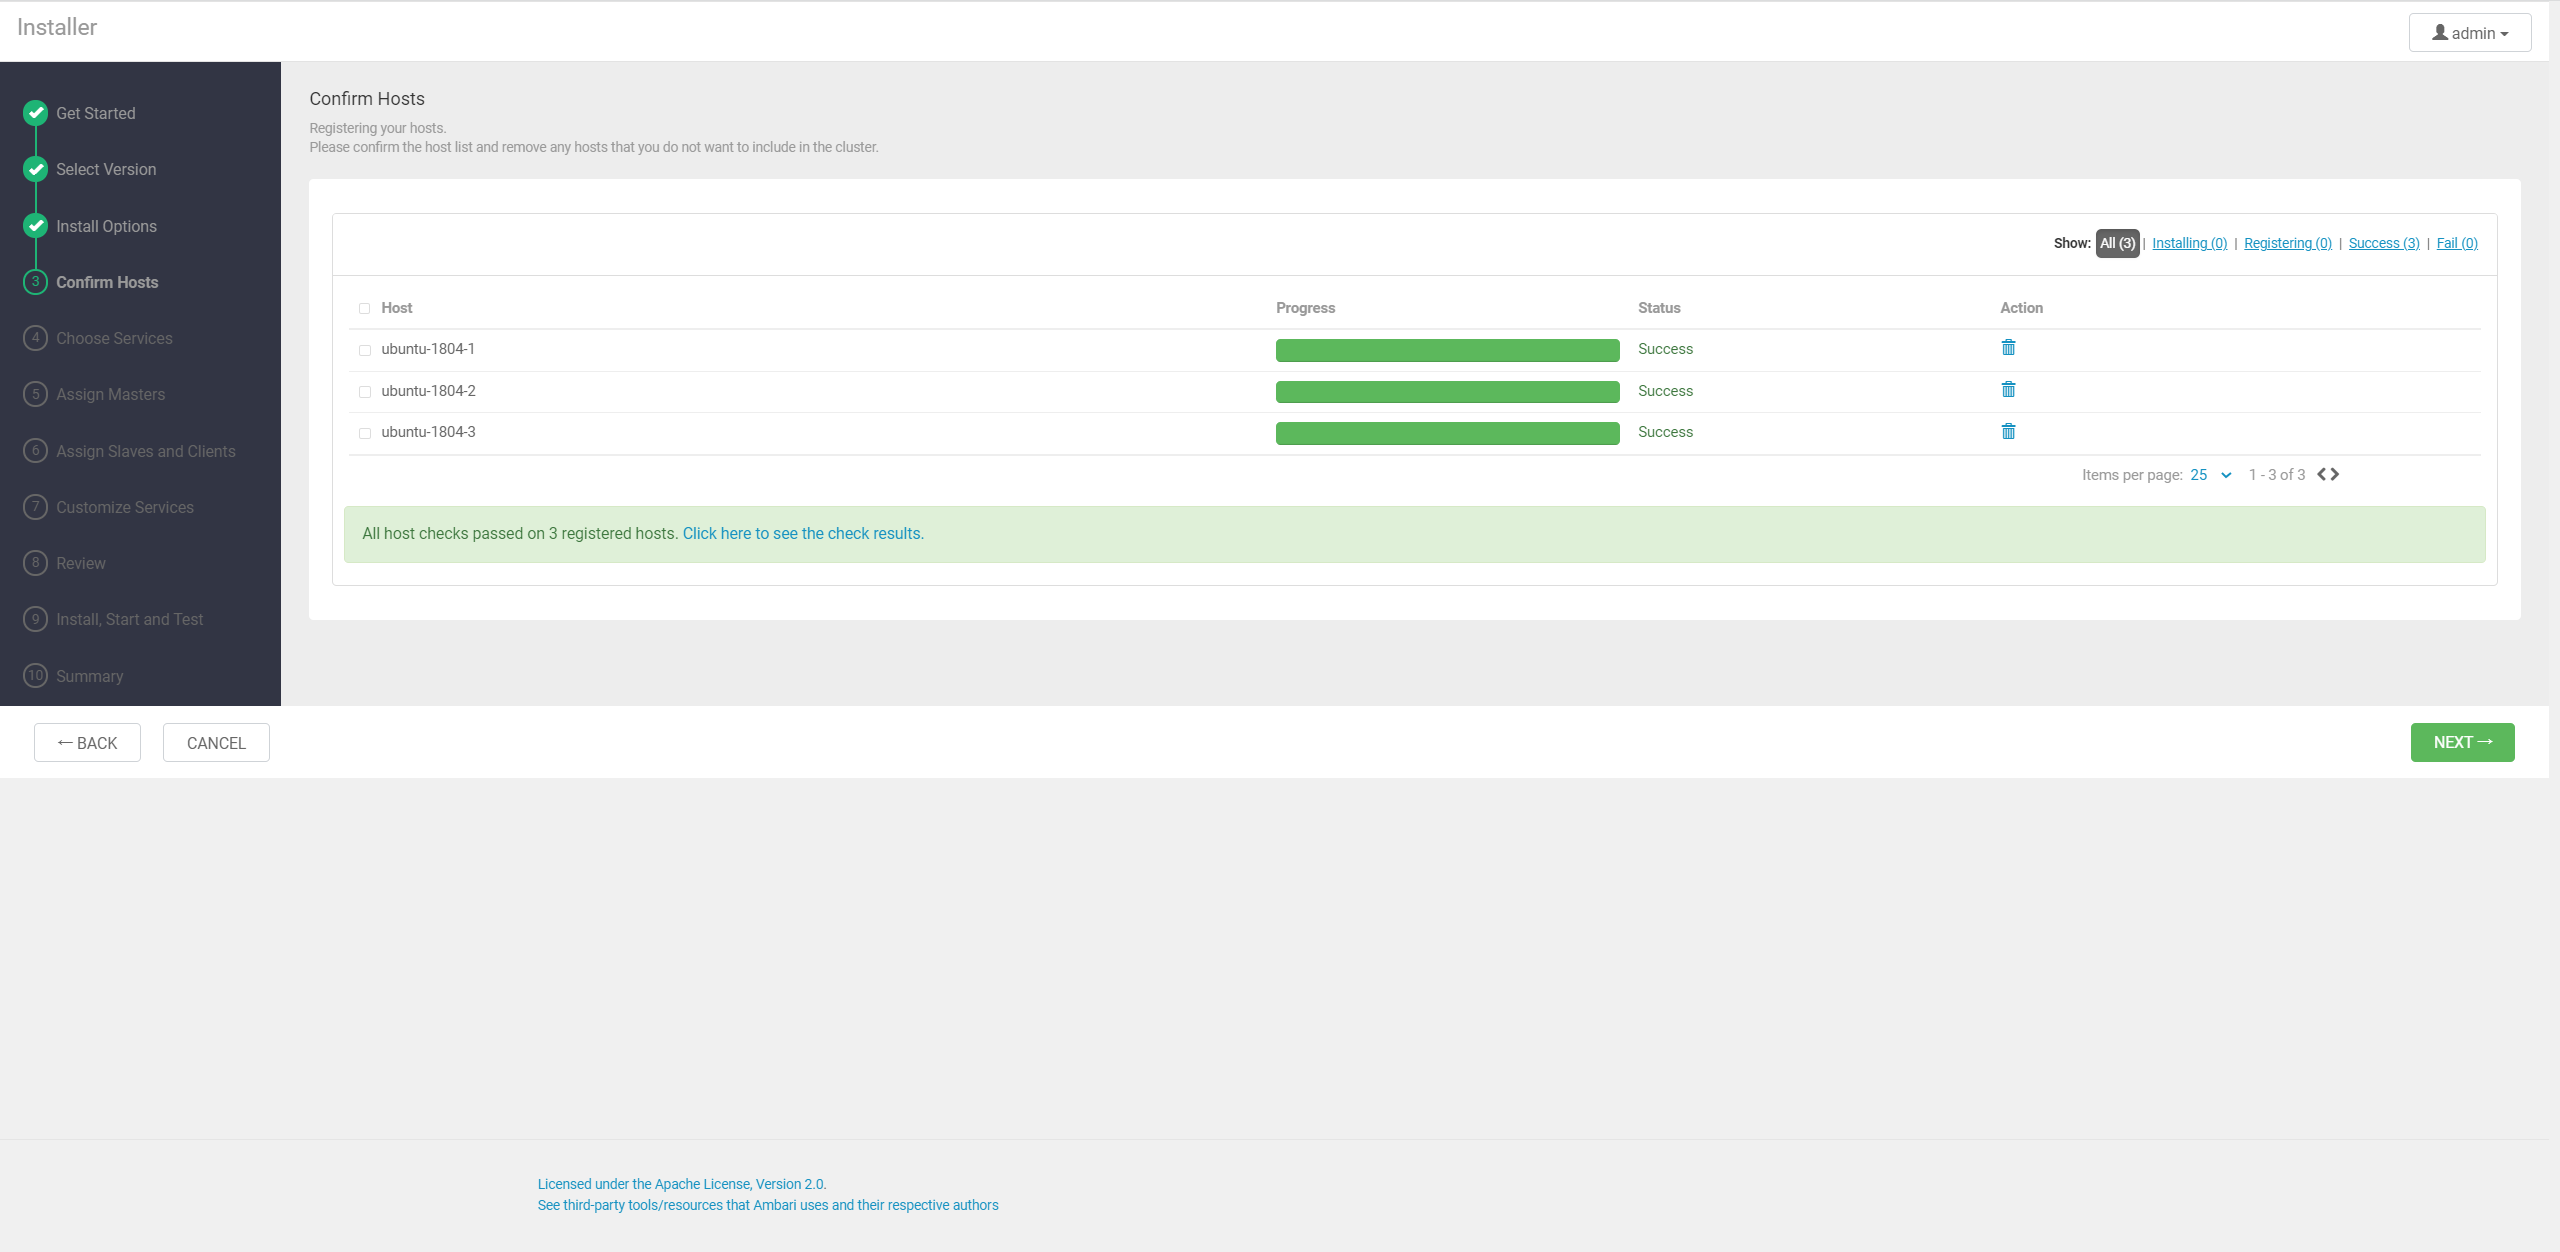
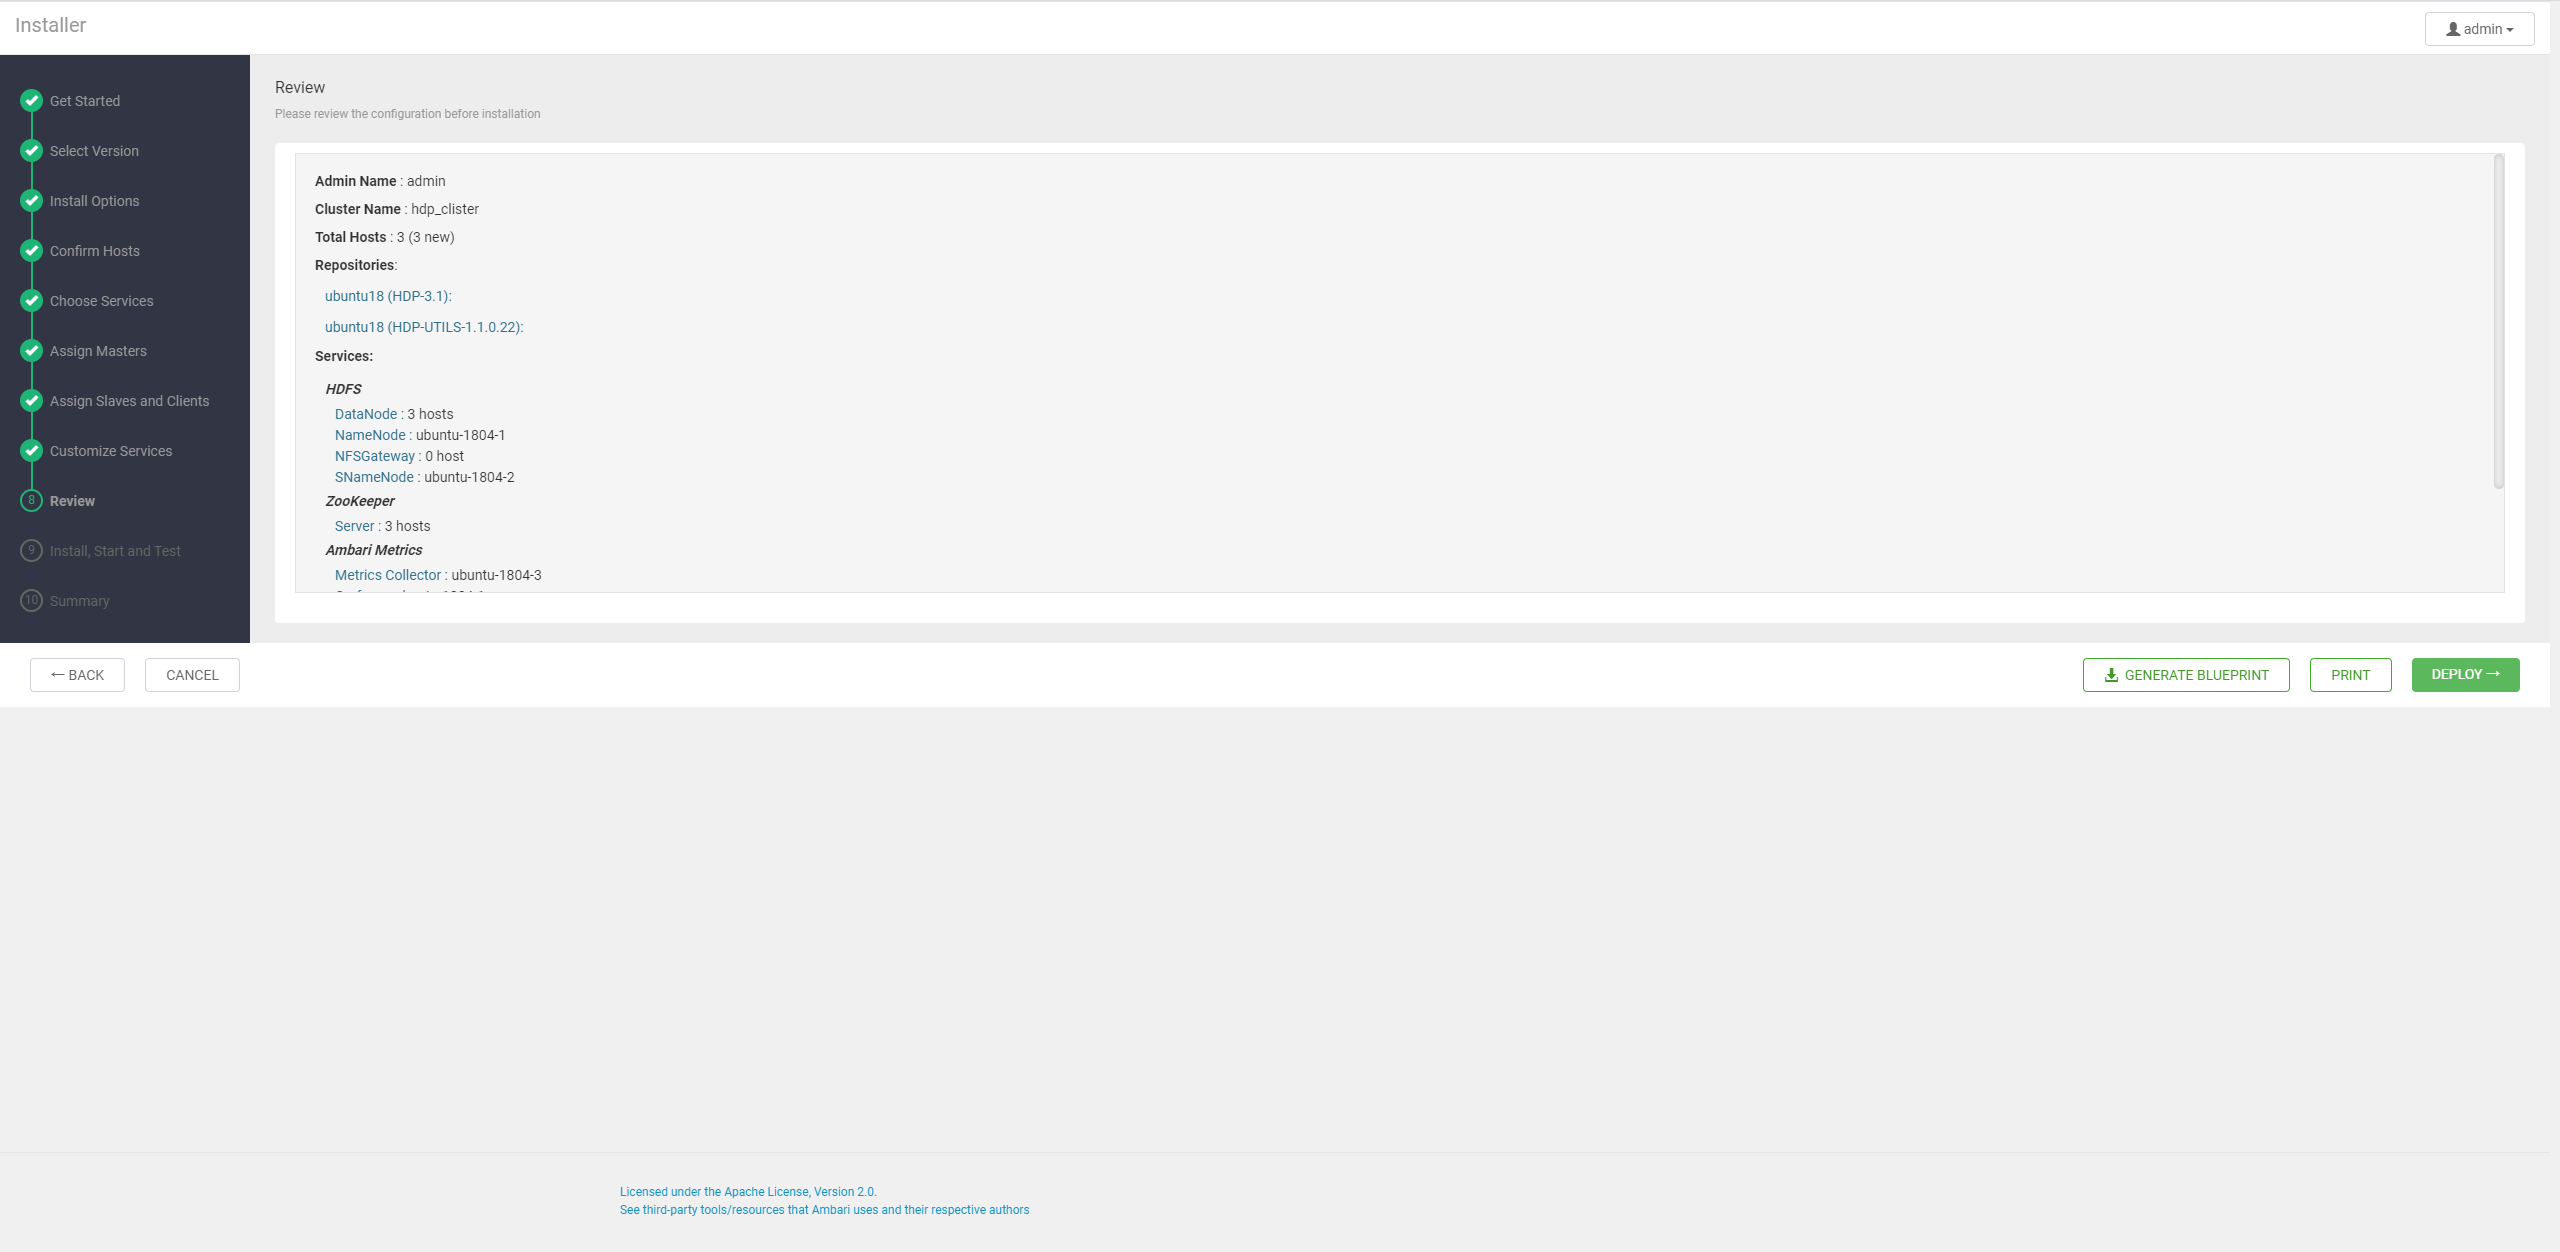
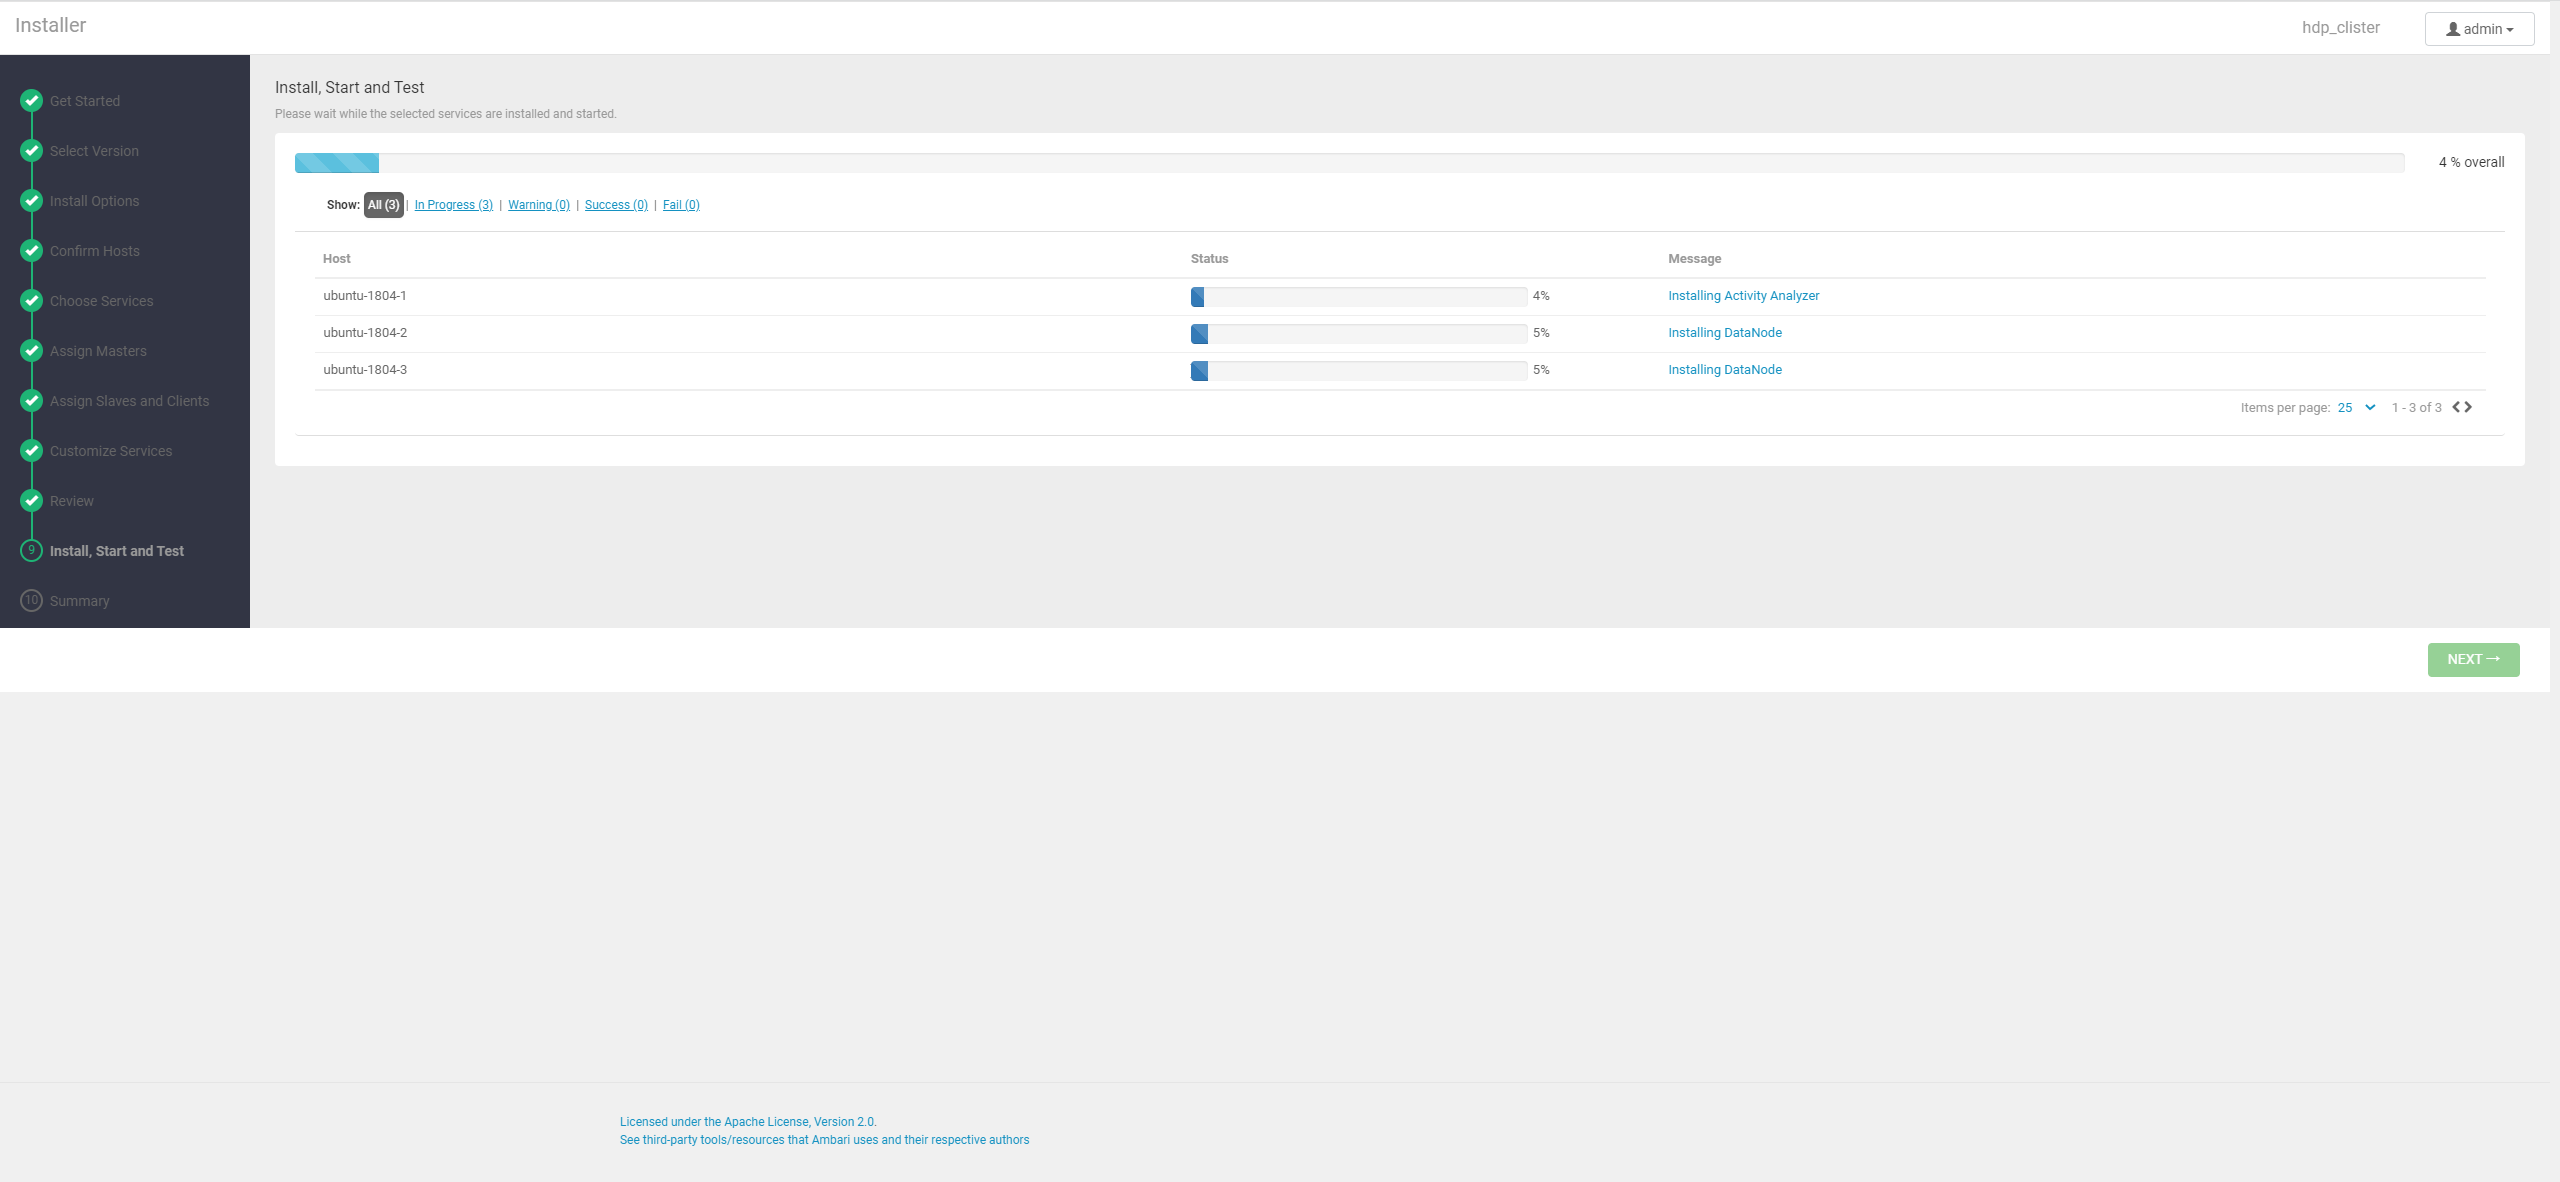
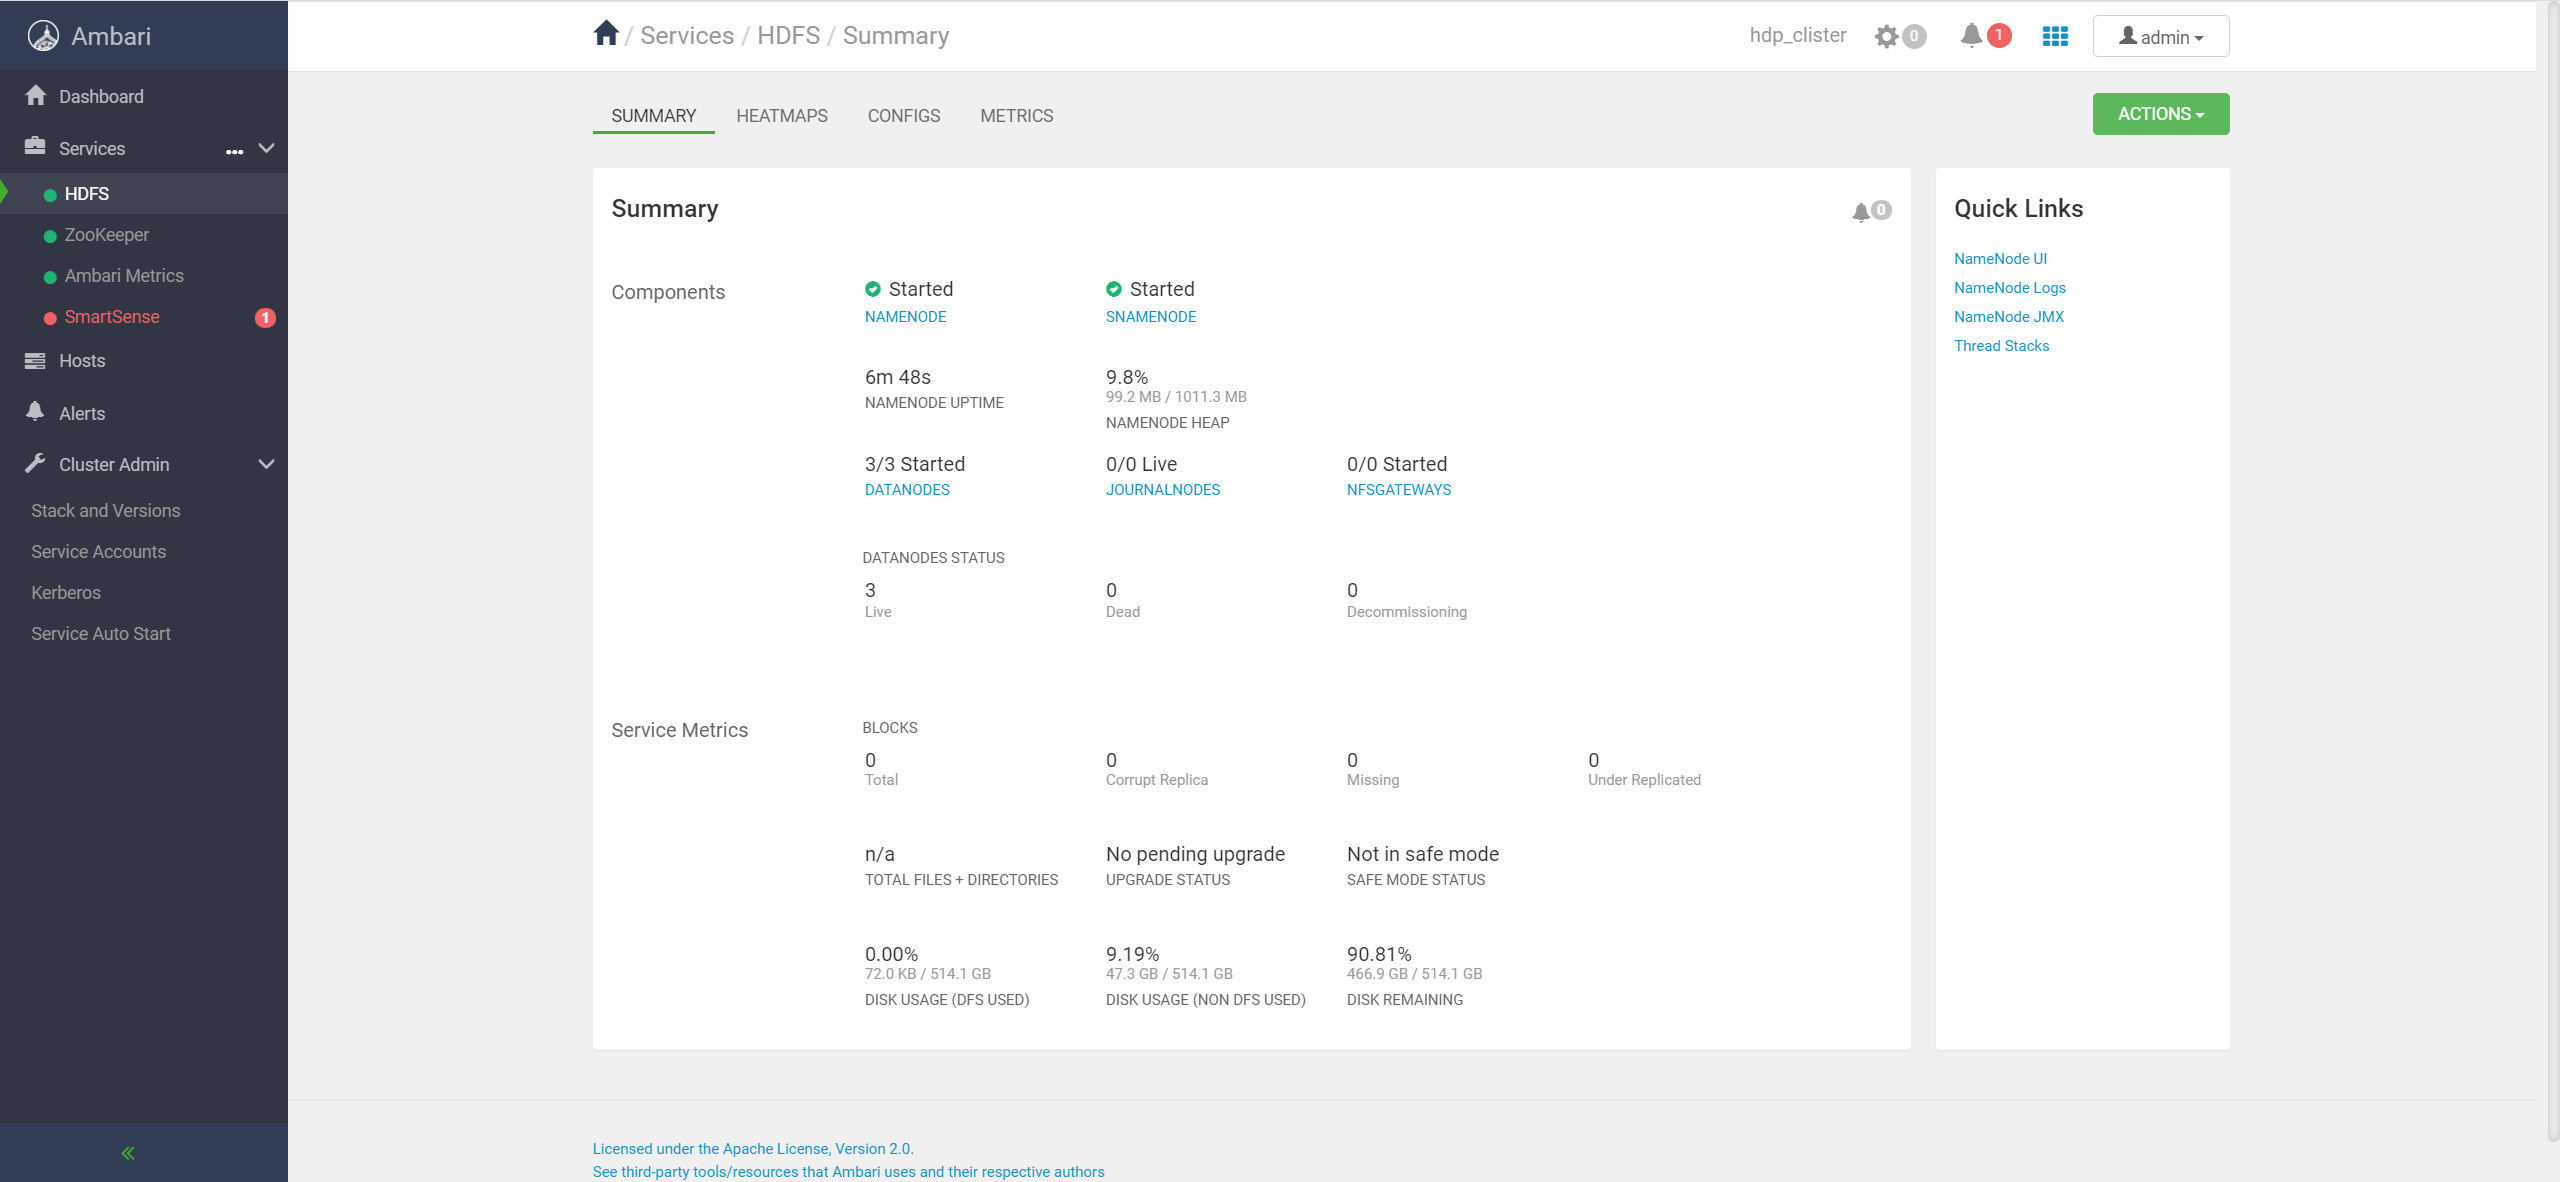
集群注册与组件安装

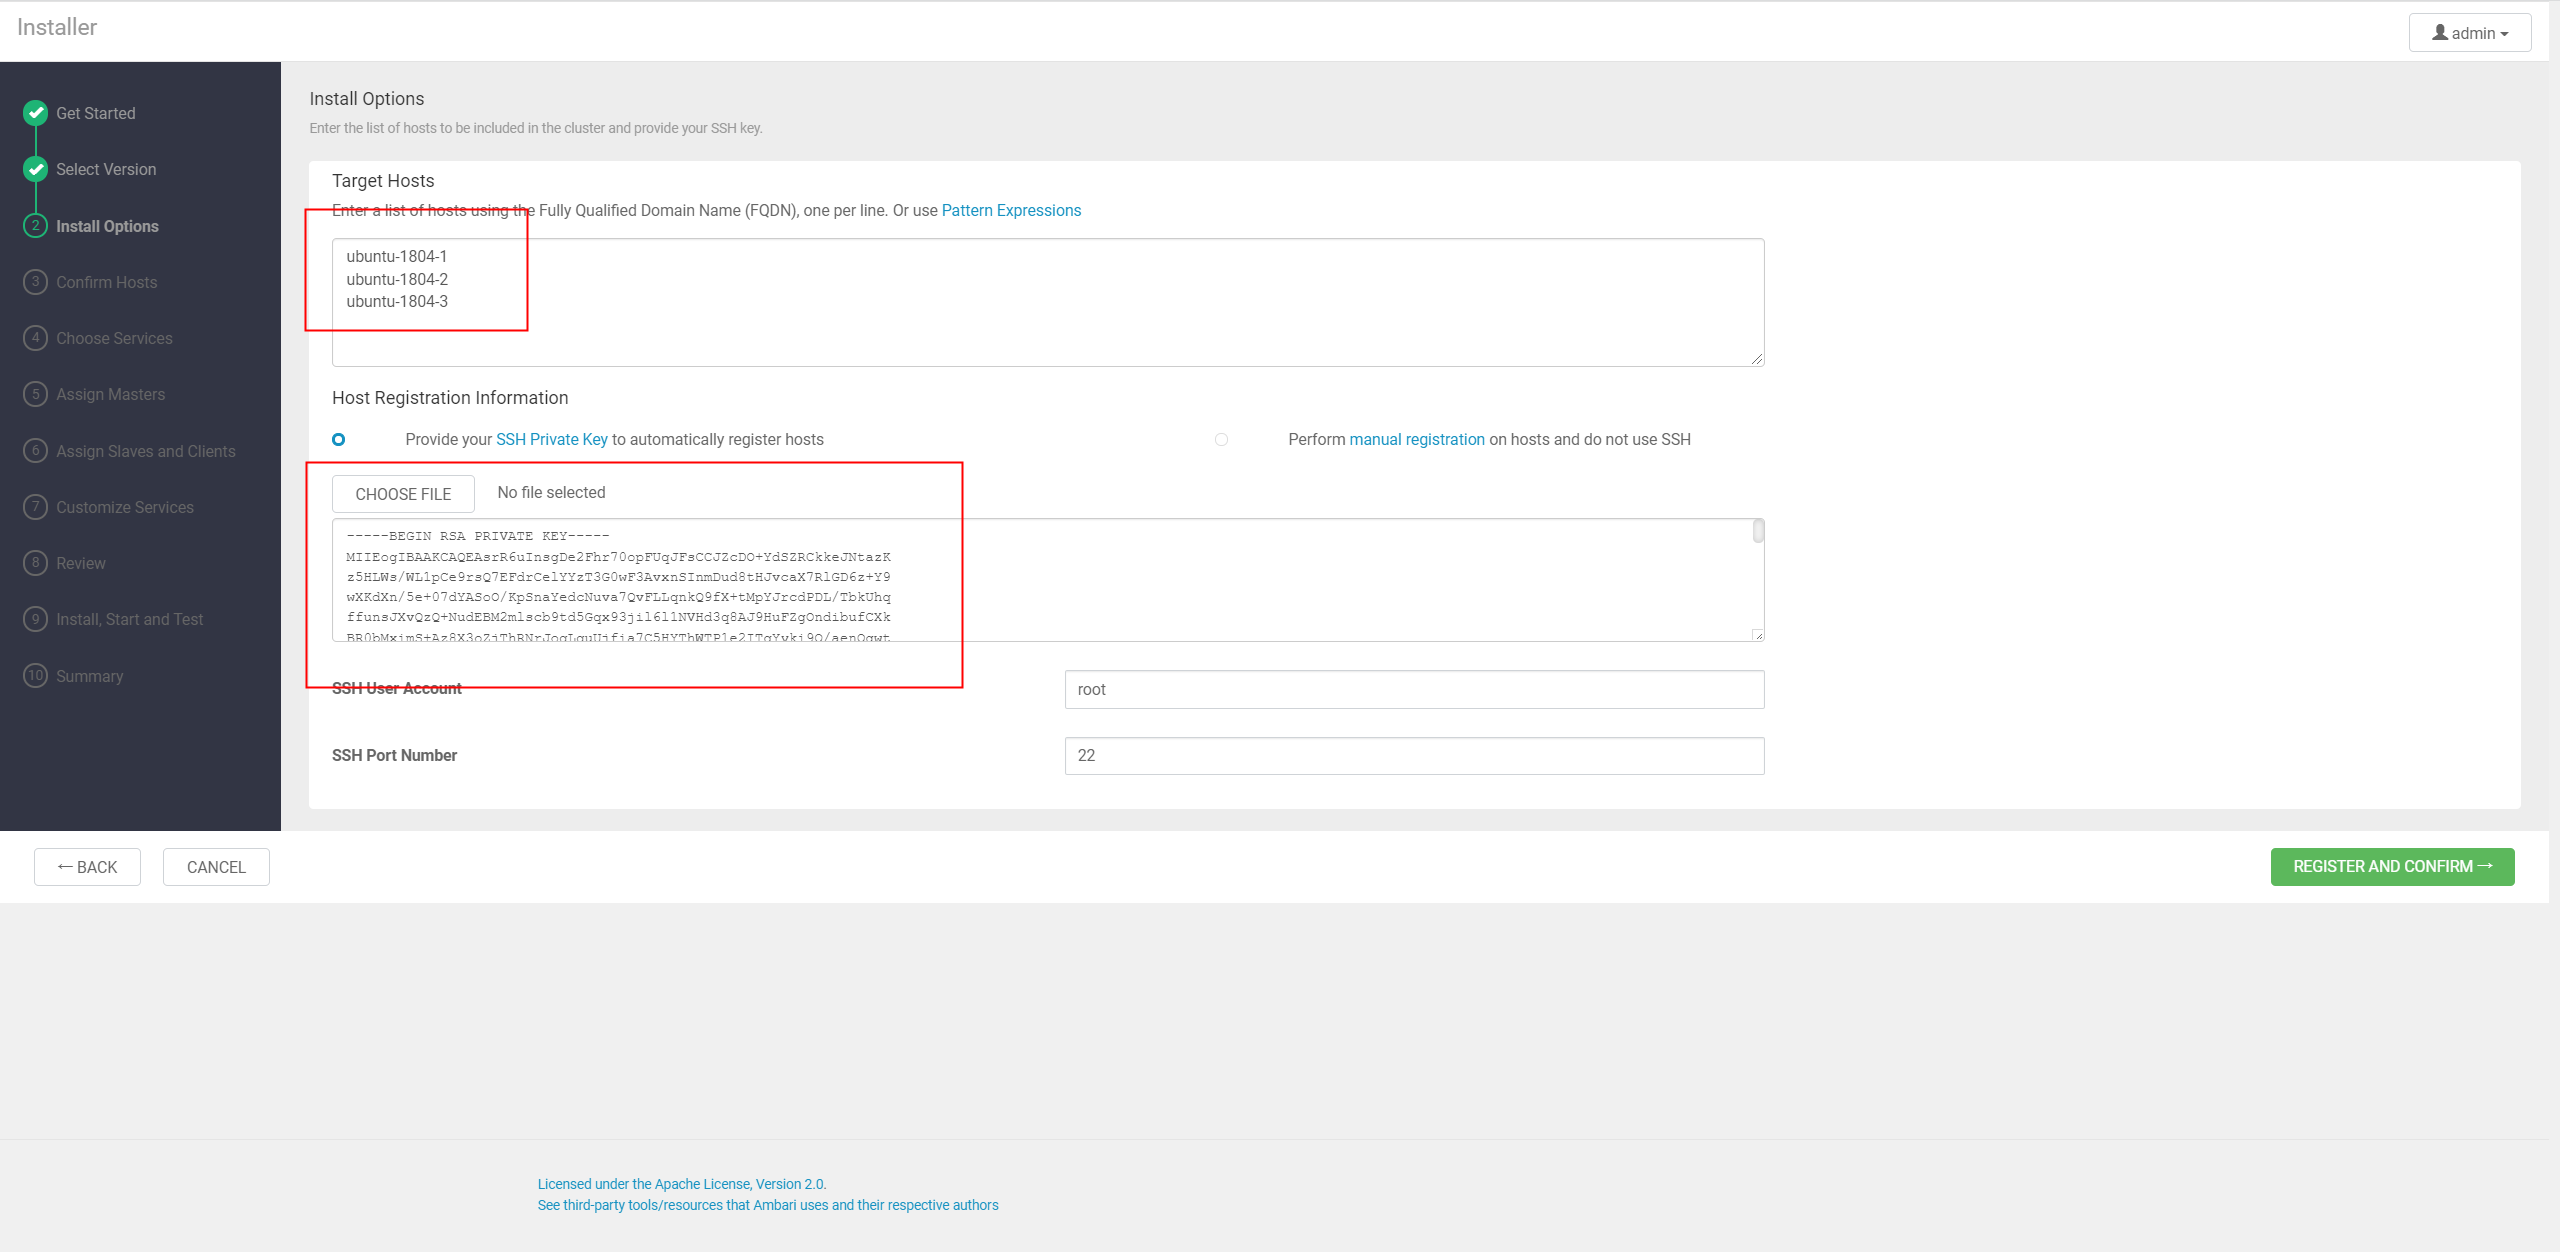
填入hostname以及私钥,私钥文件为:ubuntu-1804-2的/root/.ssh/id_rsa文件
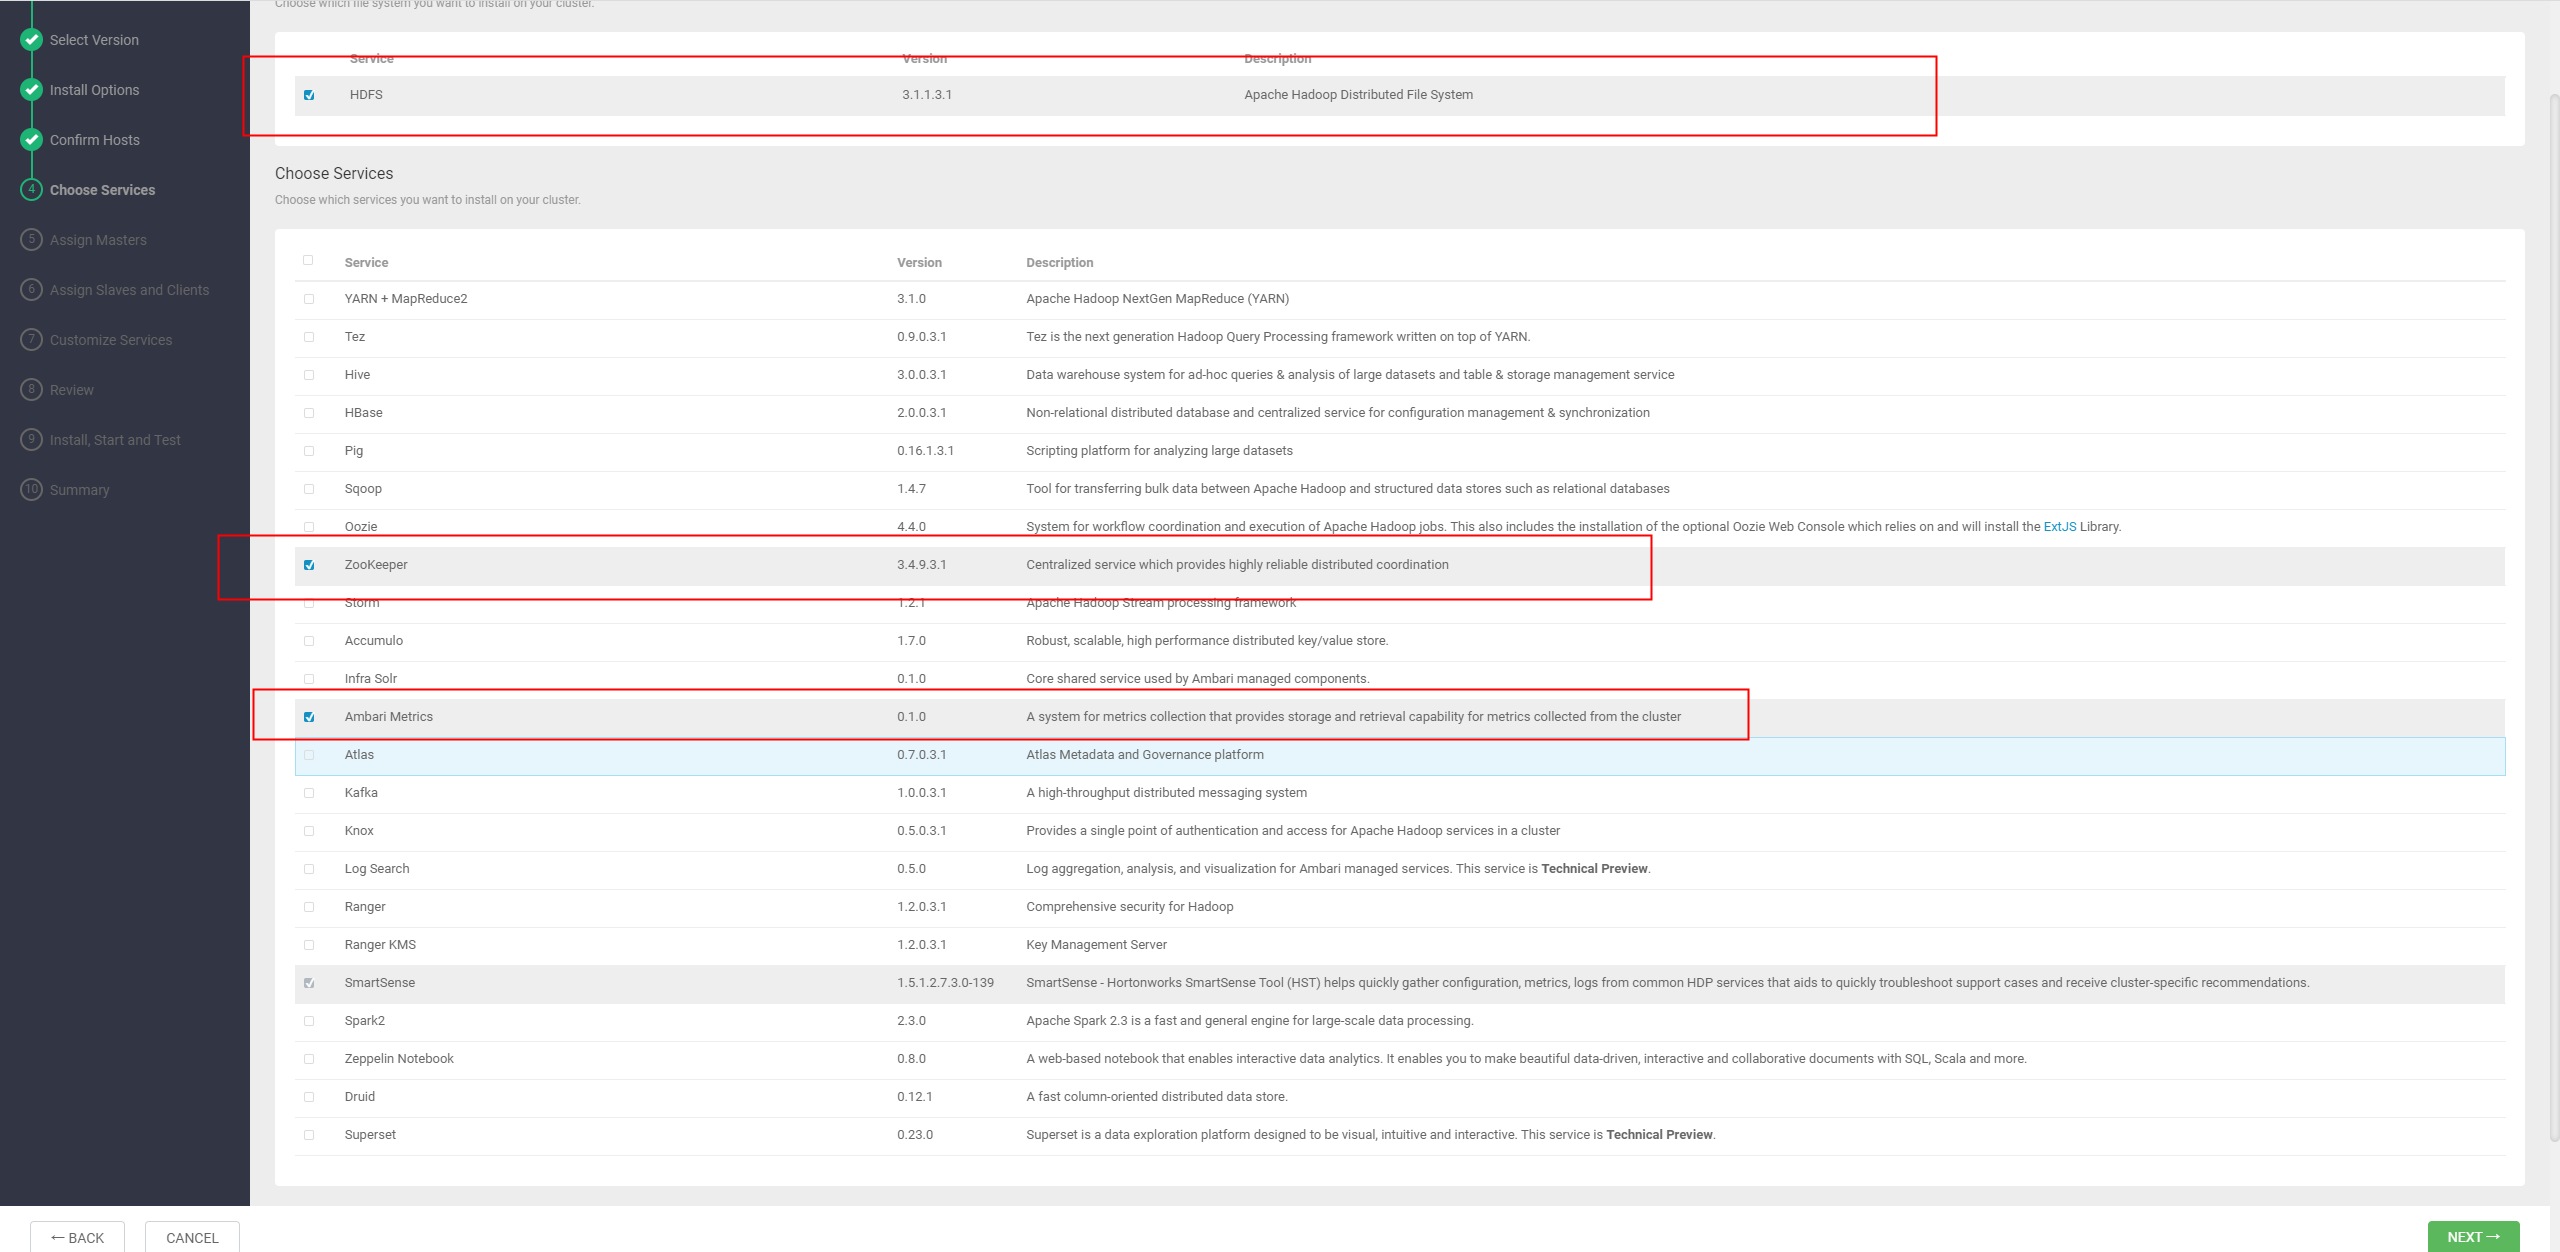
先选择Ambari Metrics、zookeeper和hdfs,其他的组件等安装完了再选择
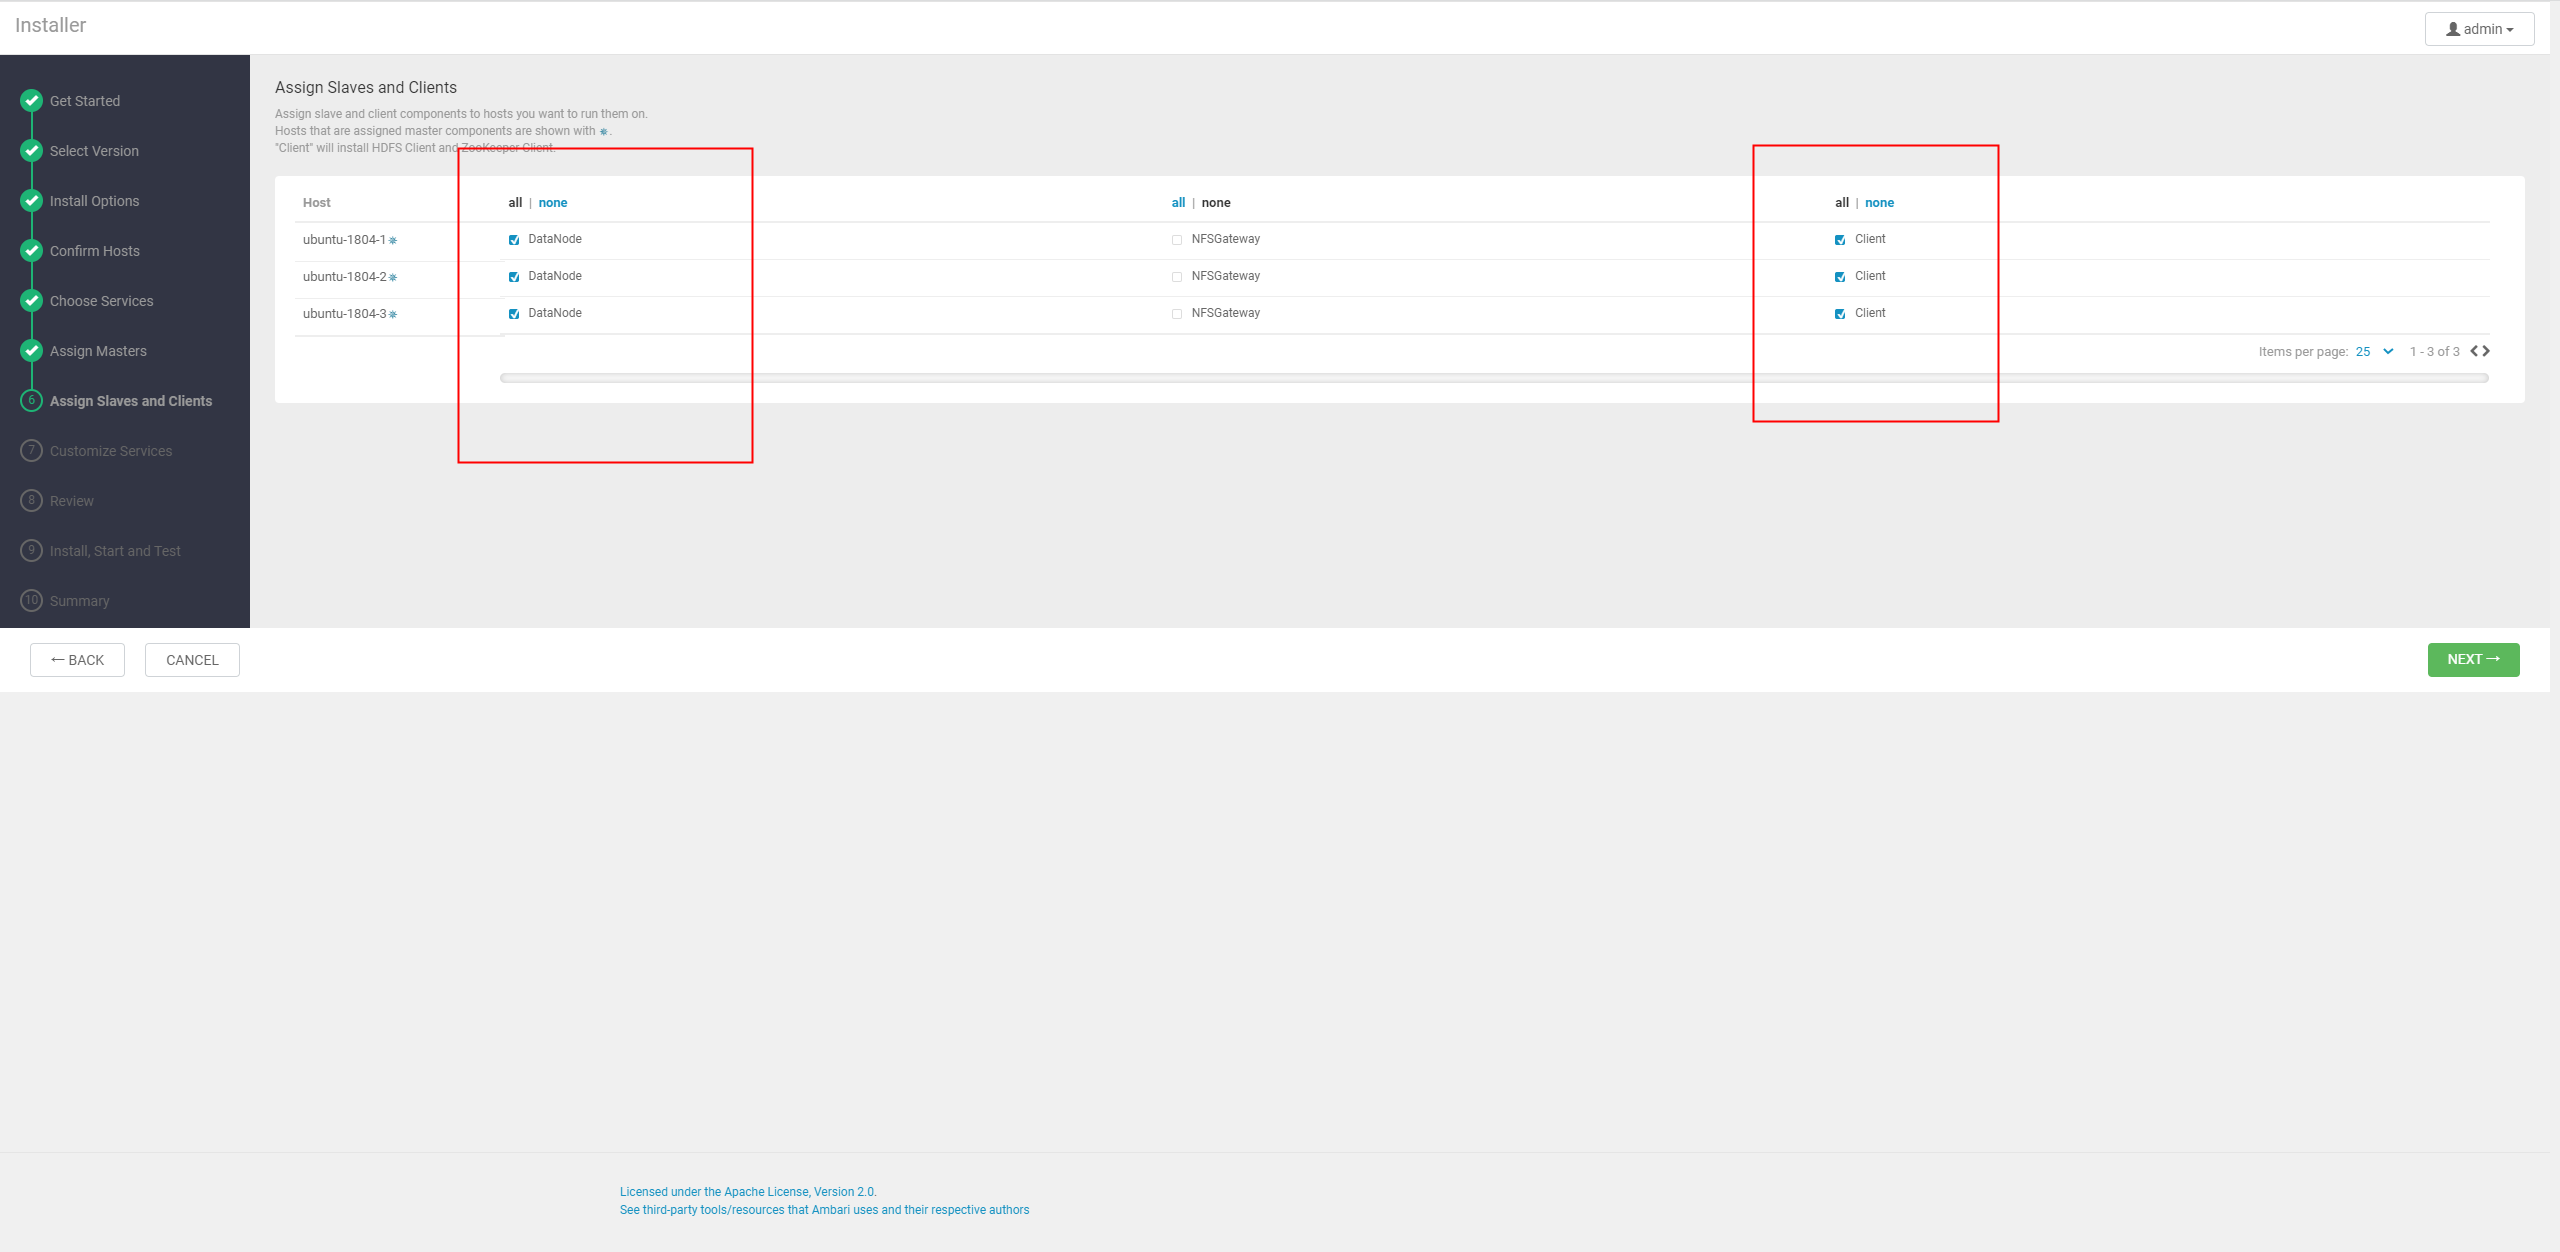
Datanode和client全部选上
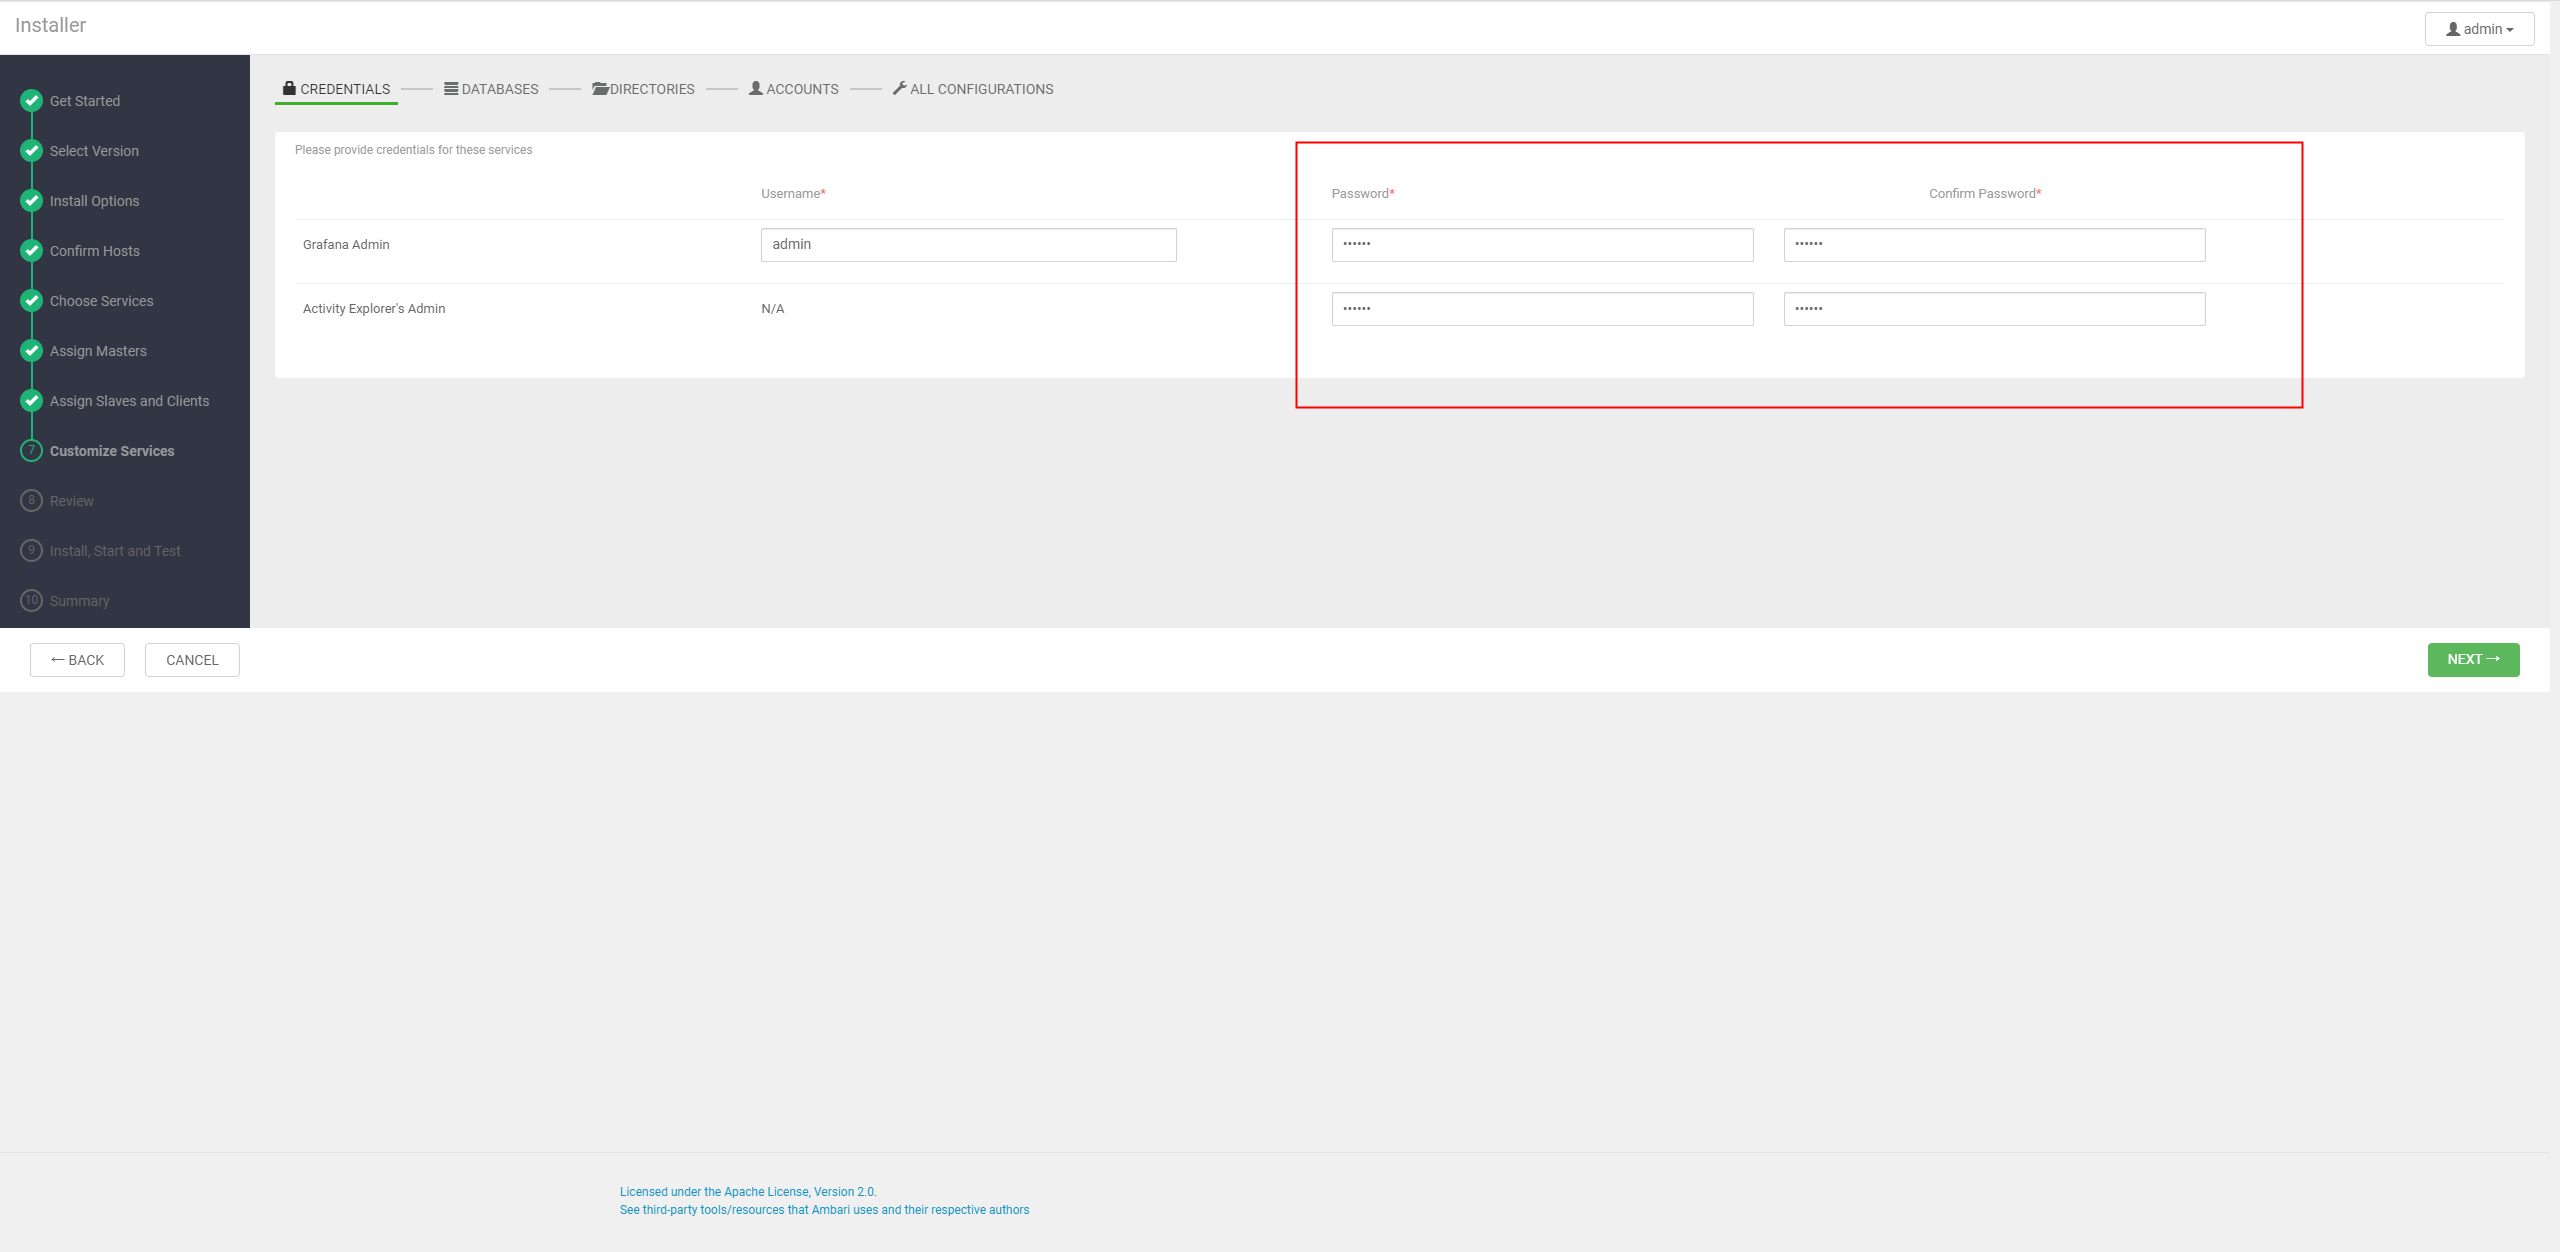
设置密码
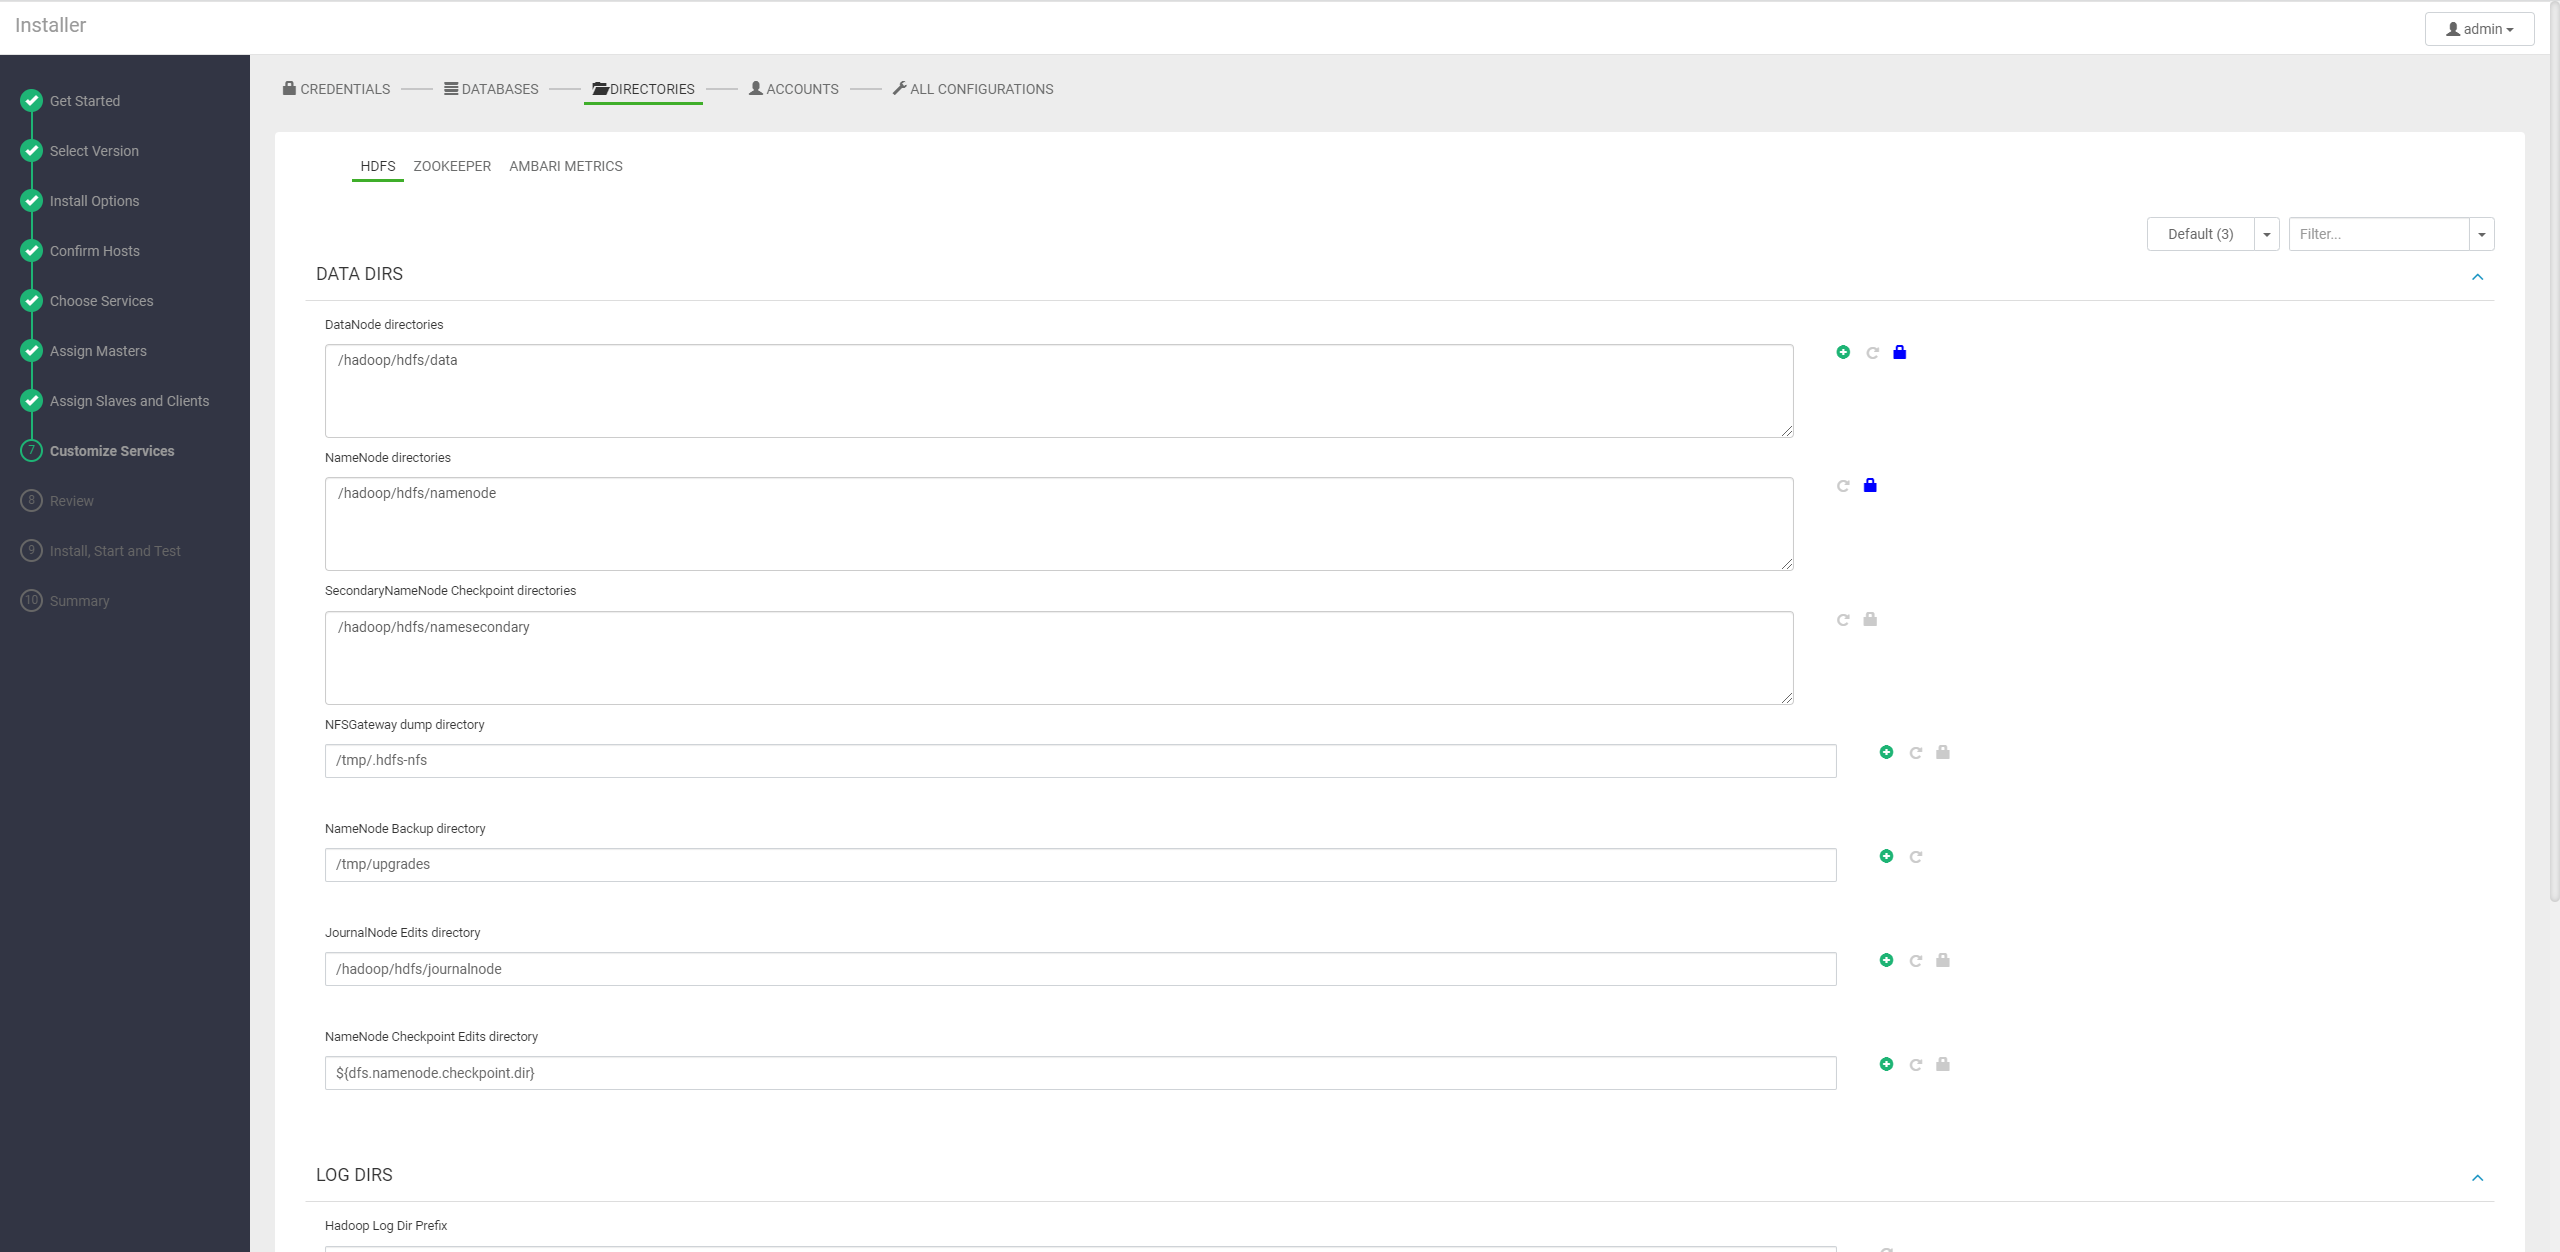
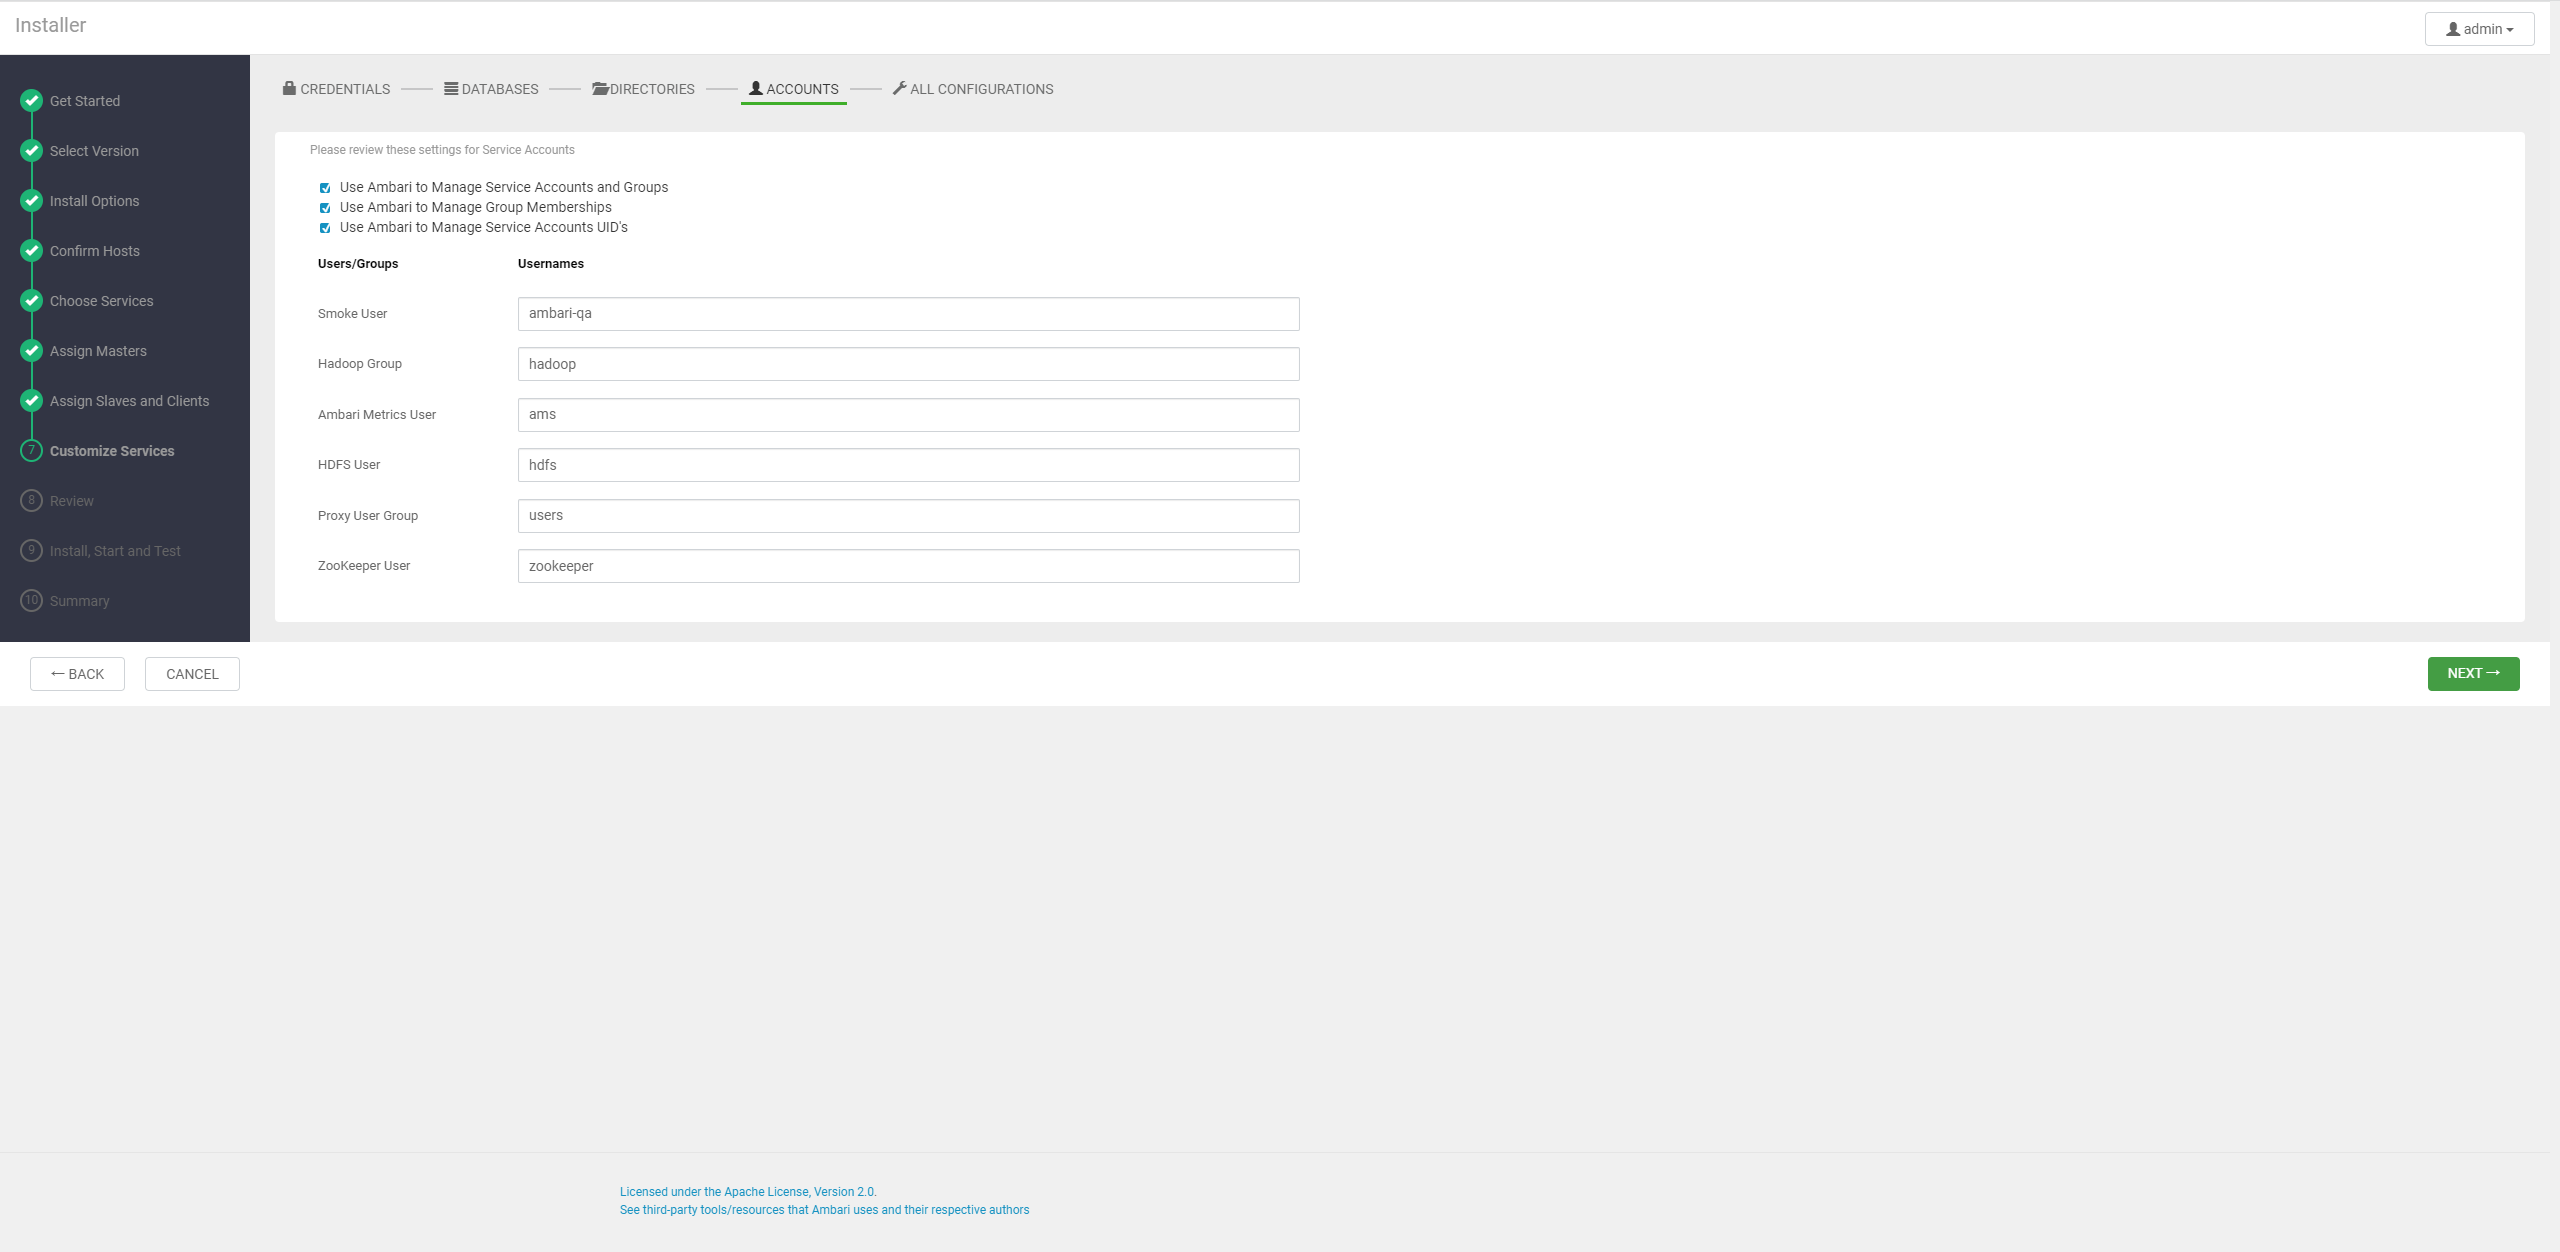
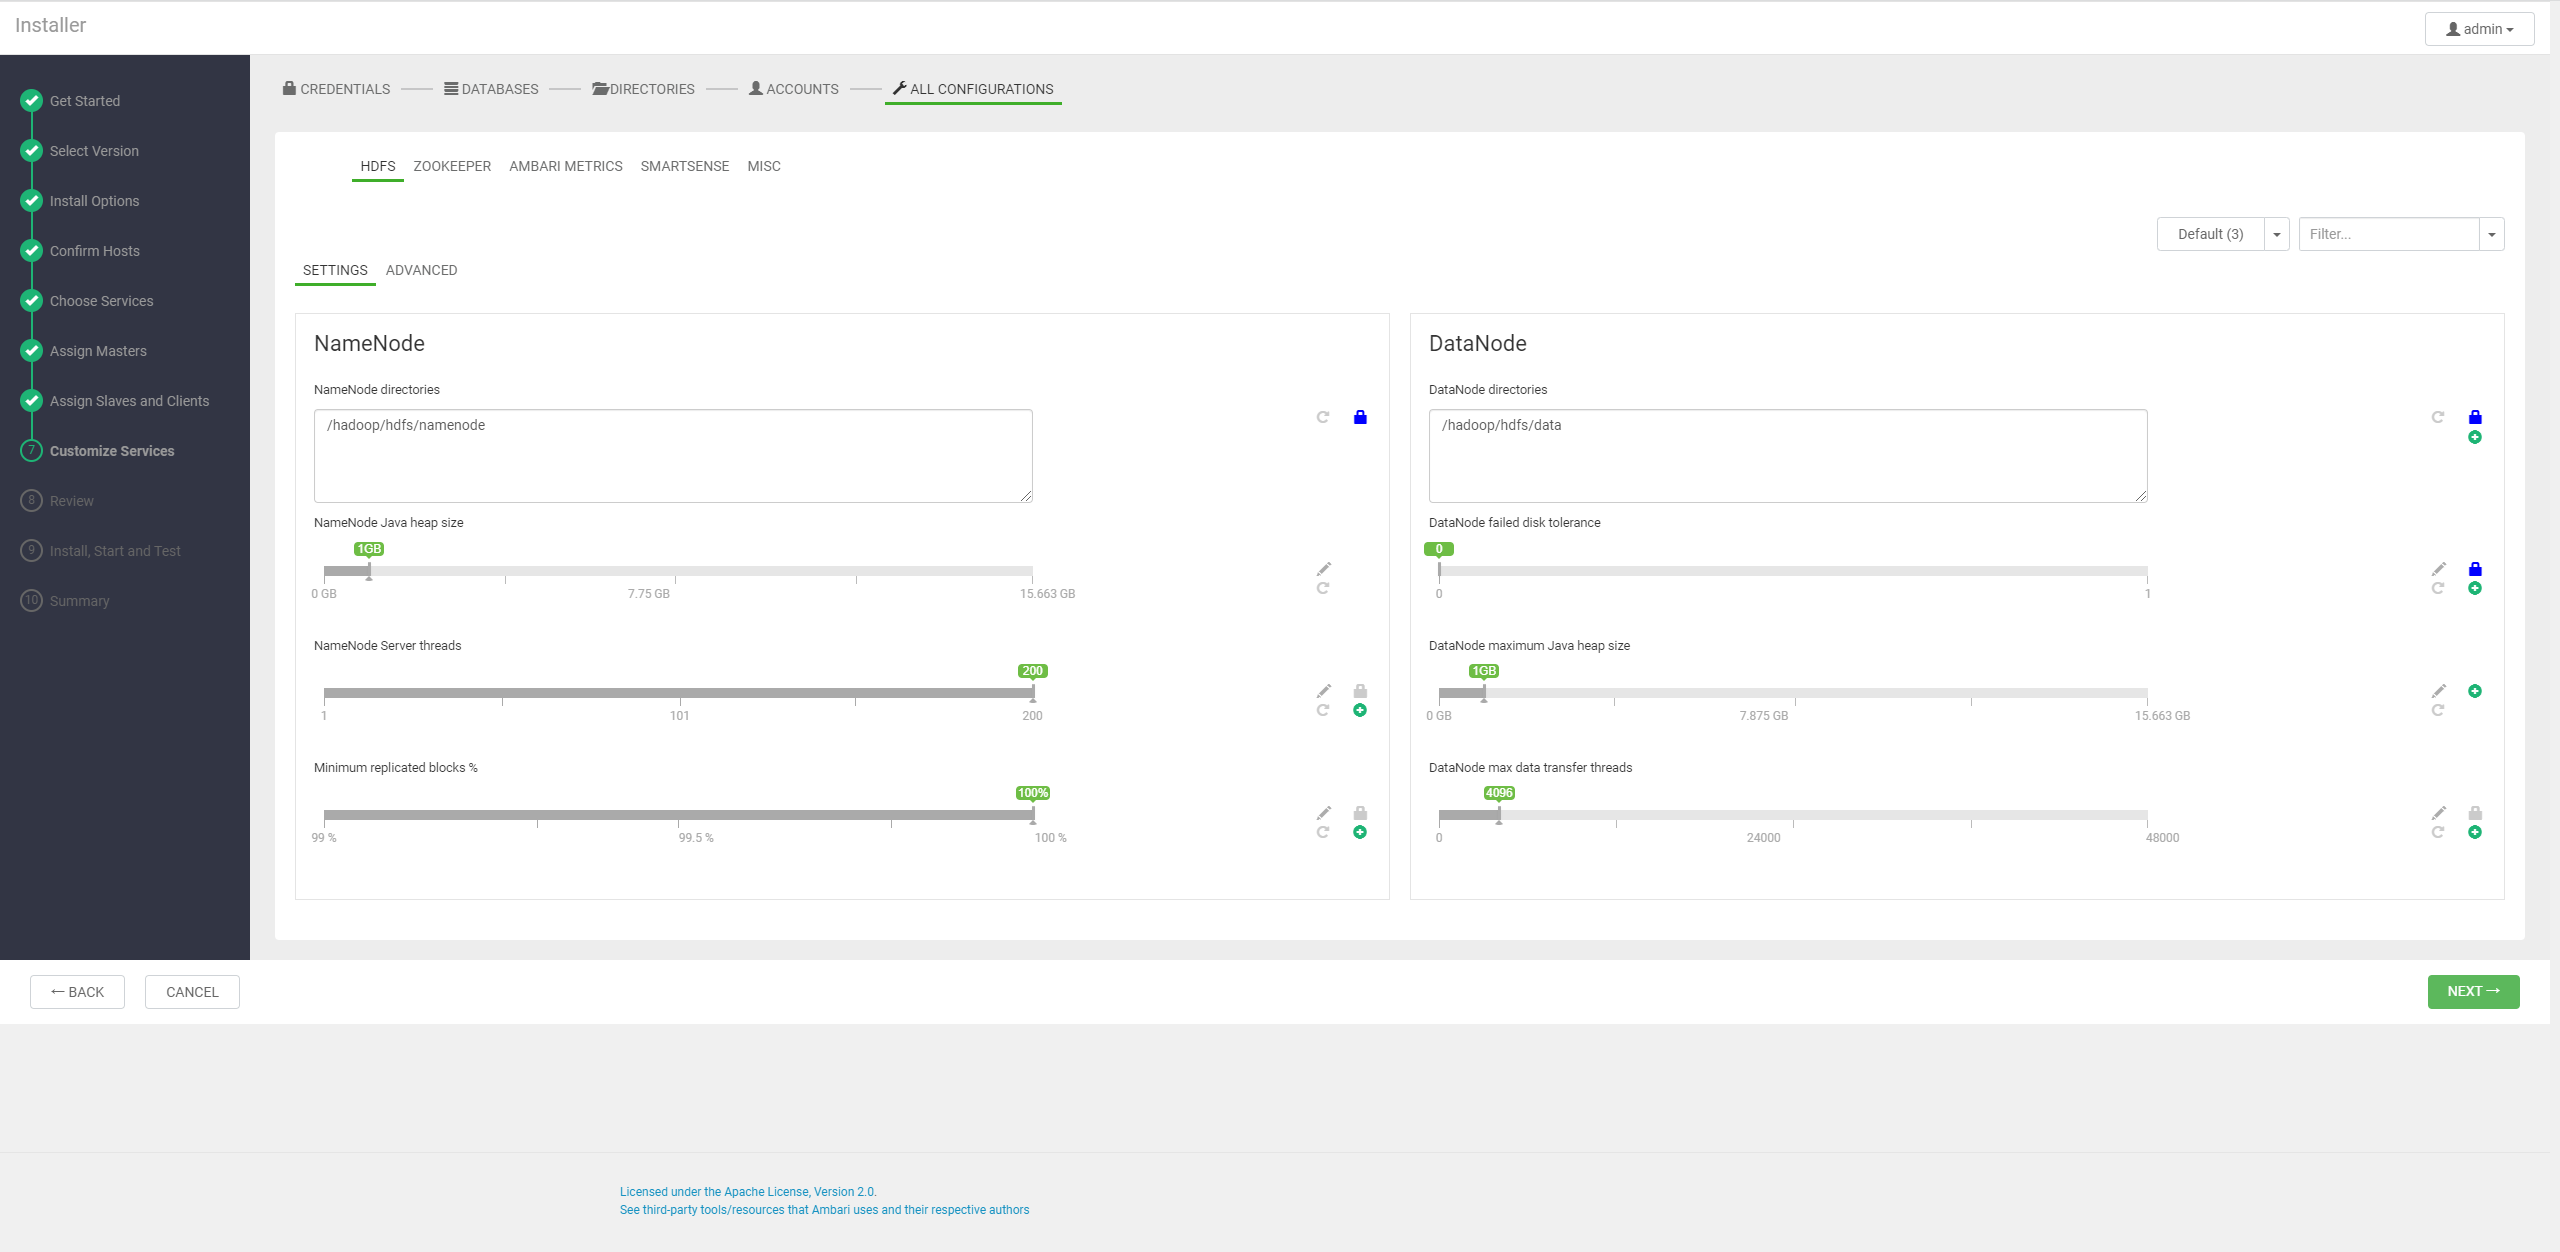
使用默认配置
本文为从大数据到人工智能博主「xiaozhch5」的原创文章,遵循CC 4.0 BY-SA版权协议,转载请附上原文出处链接及本声明。
原文链接:https://lrting.top/backend/2636/